Netsuite Finance Integration
Last updated: August 14, 2026
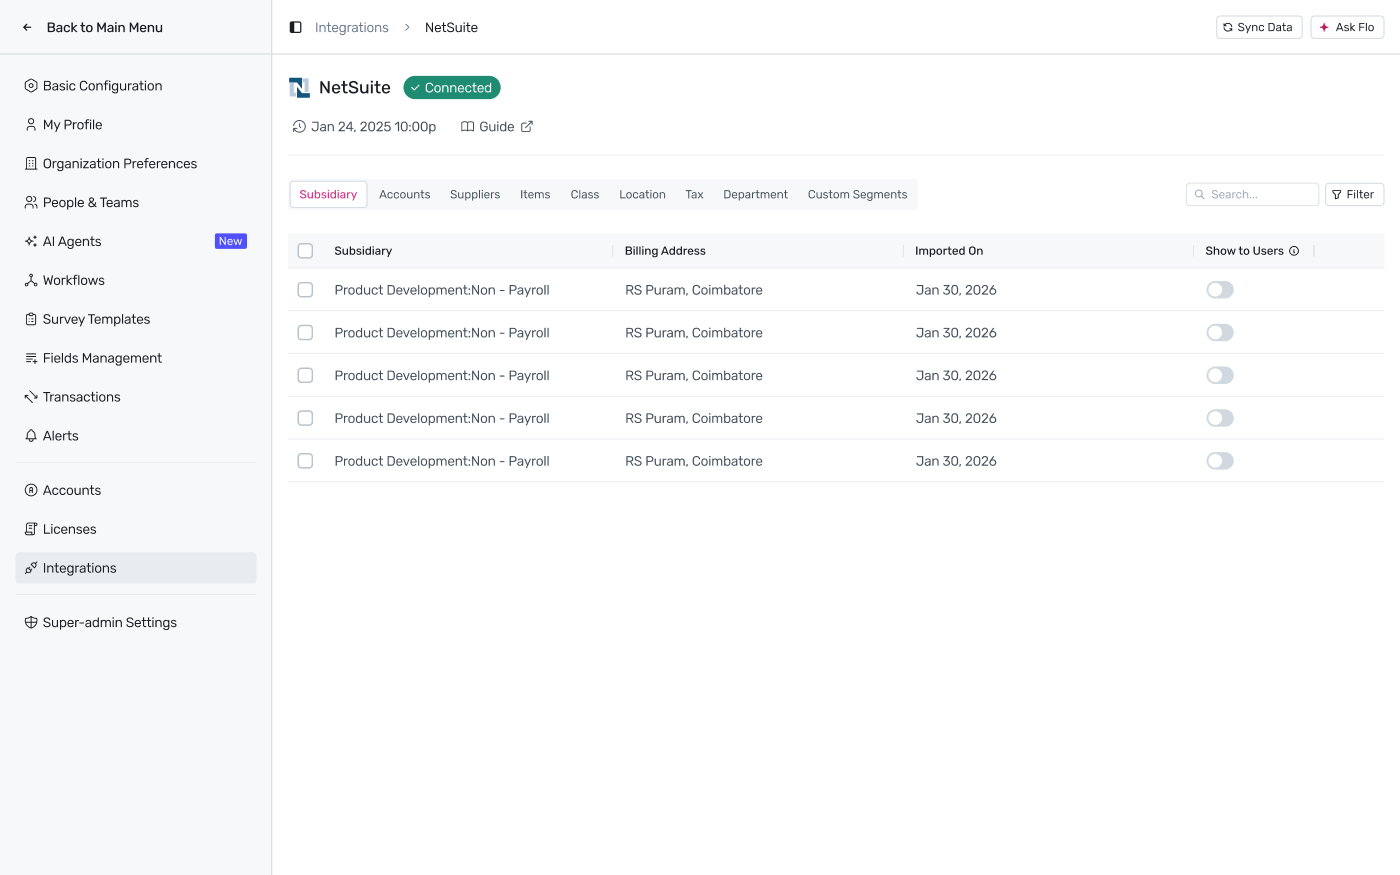
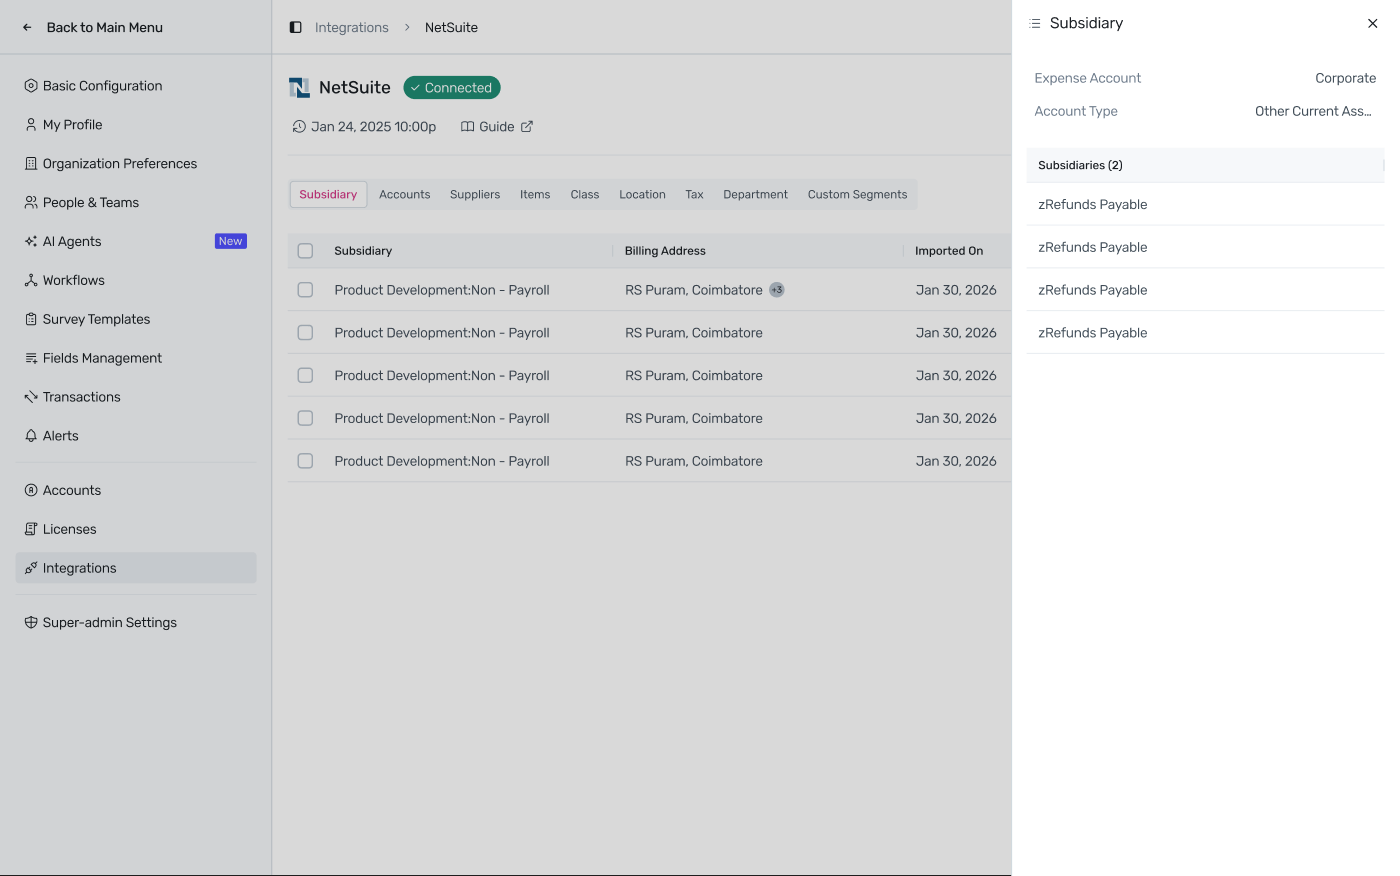
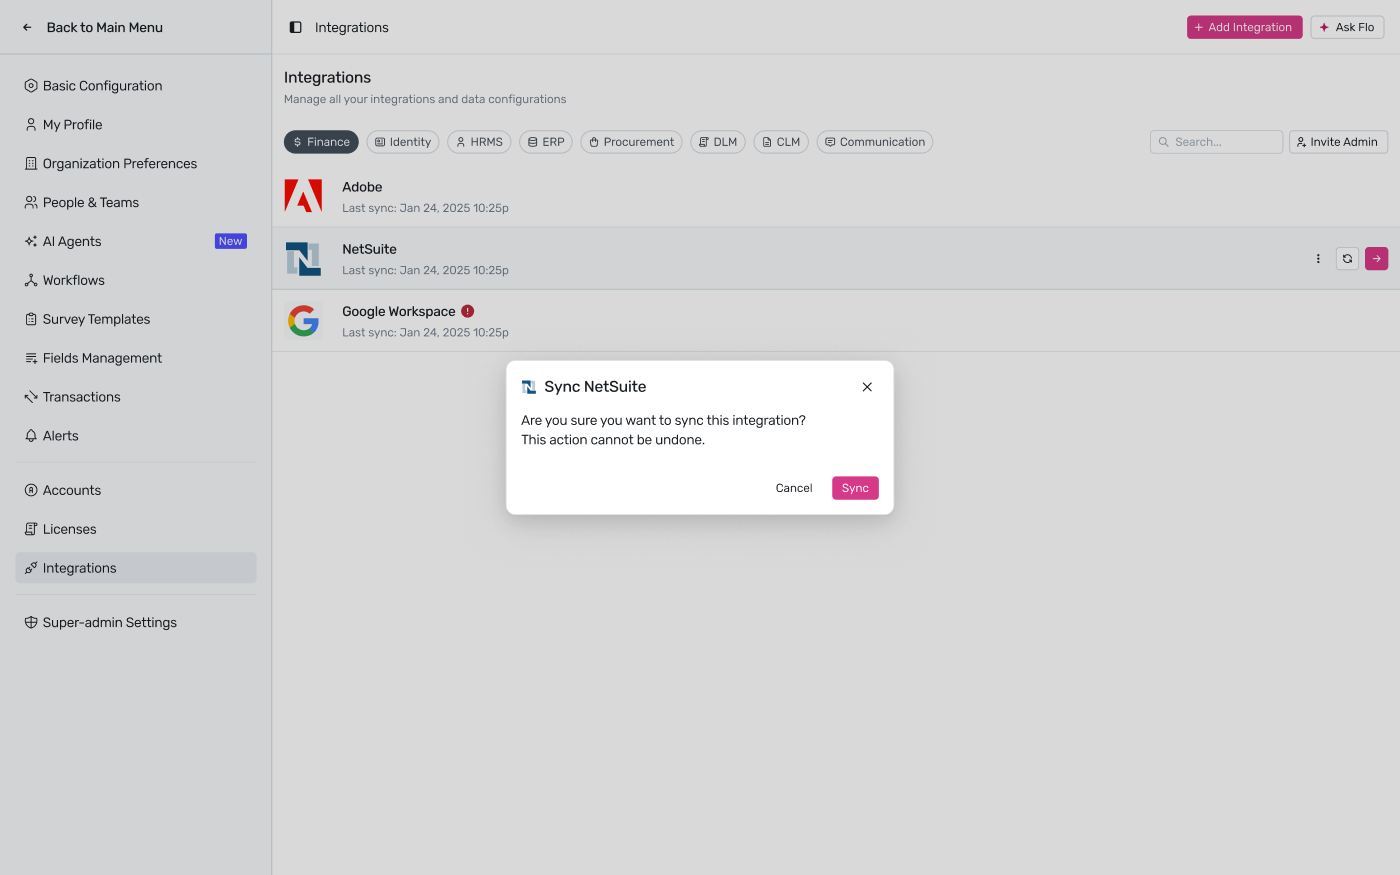
Current NetSuite integration screens:
Overview
The spend management feature allows organizations to compare actual expenses incurred against the planned or contracted expenses, providing insight into any deviations that may be present. This information can be used to renegotiate contracts or downgrade existing ones to save costs.
Spendflo's integration with a finance system also helps companies uncover Shadow IT by scanning expense data to identify spend on unsanctioned apps before they proliferate. This feature allows businesses to consolidate opportunities where multiple teams are paying for the same app, saving costs and increasing efficiency.
Lastly, Spendflo helps identify paid applications that are under-utilized or no longer in use, allowing companies to stop paying for subscriptions that they don't need. By doing so, they can save costs and optimize their SaaS inventory.
Netsuite Finance Integration
Spendflo integrates with Netsuite and analyses your organization's SaaS expenses. Spendflo will automatically match transactions to the correct application, summarise expenses and provide insights. This guide follows step by step process on how you can install the integration and gain its maximum benefits.
Prerequisites
To begin the installation, you must be a Netsuite Administrator
Retrieving Netsuite Account ID
- Log into your Netsuite portal.
- Find the URL at the top of your browser.
- Your Netsuite Account ID is the combination of letters or numbers in your URL before "app.netsuite.com/app/center/card.nl?sc=-29&whence=".
- Therefore, if the URL on your Netsuite page is https://123432345.app.netsuite.com/app/center/card.nl?sc=-29&whence=.
- Your Account ID is 123432345. Copy the account ID and keep it; we'll need it in the next steps.
Enable Web Services
If you have not yet enabled REST and SOAP Web Services:
Step 1. In your Netsuite account, go to Setup > Company > Enable Features
Note: You must be an Administrator of your Netsuite account to see this option.
Step 2. Under SuiteCloud, check the boxes next to SOAP WEB SERVICES and REST WEB SERVICES.
Setup a Role with All Transactions and Setup Permissions
If you do not have a user role already created, then follow the below step:
Note: If you know that you already have a user role with access to all transactions (all setup permissions below must be selected with full access), you can skip these steps. To check, go to Setup, Users/Roles, Manage Roles, and search through your user roles.
Step 1. In your Netsuite account, go to Setup, Users/Roles, Manage Roles, and click the New option. You must be an Administrator of your Netsuite account to see this option.
Step 2. Create a Role by clicking the New Role button.
Step 3. If you have a Multi Subsidiary NetSuite application, ensure the Role has access to all Subsidiaries and has the Allow Cross-Subsidiary Record Viewing box checked
Step 4. Add each of the below permissions to the Role:
In Transactions, add each of the below permissions:
| TRANSACTIONS PERMISSION | LEVEL |
| Audit Trail | View |
| Bills | View |
| Check | View |
| Enter Vendor Credits | View |
| Expense Report | View |
| Find Transaction | View |
| Purchase Order | View |
| Make Journal Entry | View |
| Credit Card | View |
| Credit Card Refund | View |
In Setup, add each of the below permissions:
| SETUP PERMISSIONS | LEVEL |
| Login using Access Tokens | Full |
| User Access Token | Full |
| Access Token Management | Full |
| View Login Audit Trail | Full |
| REST Web Services | Full |
| SOAP Web Services | Full |
In Lists, add each of the below permissions:
| LISTS PERMISSIONS | LEVEL |
| Accounts | View |
| Amortization Schedules | View |
| Currency | View |
| Departments | View |
| Employees | View |
| Employee Records | View |
| Expense Categories | View |
| Items | View |
| Vendors | View |
| Subsidiaries | View |
| Perform Search | View |
| Classes | View |
In Reports, add each of the below permissions:
| REPORTS PERMISSIONS | LEVEL |
| SuiteAnalytics Workbook | Edit |
| Account Detail | View |
| Accounts Payable | View |
| Amortization Reports | View |
| Expenses | View |
| Transaction Detail | View |
| Purchase Order Reports | View |
Step 5. Click Save.
Assign User to Token-based Authentication Role
Step 1. In setup, go to Users/Roles, and click Manage Users.
Step 2. In Manage Users, either select a user to assign the Role to or create a new user.
Go to Lists > Employees > Employees > New to create a new user. Create the user and grant them NetSuite access by going to the Access tab in the Employee record and select 'Give Access'.
Step 3. In the user's employee record, click Edit and go to the Access tab. In your Access tab, go to Roles and select the Role you just created with all the correct transactions and setup permissions.
Step 4. Click save to apply these changes.
Cost for new user
Disclaimer: You don't need to pay extra for new users as long as you have sufficient licenses available.
Follow these steps to check:
Step 1. Navigate to Setup → Company → View Billing Information.
Step 2. Locate the Full Licensed Users section.
Step 3. Compare the following values:
- Current Provision Qty: Total number of licenses provisioned.
- Current Used Qty: Number of licenses currently in use.
Note: If Current Used Qty equals Current Provision Qty, you cannot create a new employee without acquiring additional licenses. If Current Used Qty is less than Current Provision Qty, you can proceed to create a new employee in the system.
Create an integration to obtain your Consumer Key and Secret
Step 1. Once the user and the role are set up, go to integrations manage integrations in your setup tab and click new.
Step 2. Create the integration. Select the boxes selected below.
Note: Ideally, the CONCURRENCY LIMIT should be set to null. If a value must be specified, the minimum value set should be 3. If neither is an option, the highest possible concurrency limit should be used.
Step 3. Ensure the REST WEB SERVICES box is checked under SCOPE
Step 4. Fill in the TBA AUTHORIZATION FLOW and REDIRECT URI with a value of https://app.merge.dev/oauth/callback
Step 5. Once the integration is saved, you will receive a Consumer Key and Consumer Secret (at the bottom of the confirmation screen). This will only be shown once, so copy them and keep them in a secure place.
Create an Access Token to Obtain your Token ID and Secret
Step 1. In your Setup tab, go to Users/Roles, then Access Tokens and Create a New one.
Step 2. Create a New Access Token with the User Role you either just created or a user role with all permissions above selected.
Copy these Access token credentials and store them in a safe place. They will only be shown once!
Direct Integration with Netsuite ERP
Step 1. Navigate to Integrations → Finance, then click the dropdown to select the finance integration you want to connect.
Step 2. Open the dropdown under Integrations → Finance and select the NetSuite integration. A modal containing the help documentation will appear—click Connect to initiate the integration.
Step 3. Spendflo now uses Truto to connect your Netsuite account securely. Click on "Continue".
Step 4. Fill in all necessary details such as API tokens and consumer keys. For help generating these credentials, click on "Where can I find this information?" in the modal.
Additionally, to get assisted on where this information can be found, click on the URL "Where can I find this information?" or simply access it from here.
Note: The detailed steps for the same are provided below. Jump to "Setting Up the Integration on Netsuite" for more information.
Click on "Connect" to complete the steps.
Netsuite will now be successfully integrated into the Spendflo platform.
In case a second ERP integration needs to be added, click on the dropdown displayed above Add Finance Integration and repeat the steps mentioned above.
Accounts Import Post Integration
Step 1. Once the integration steps are completed, locate the NetSuite integration and click on the Edit Configuration icon to proceed with the configuration.
Step 2. On the redirected page, users can get the account data from your Netsuite application, click on the "Import Accounts" CTA under the Import Accounts tab.
Step 3. A pop-up pane will appear as the right pane, where users can click on the required accounts to import.
Step 4. Once done, click on "Import" to complete the step.
The accounts will seamlessly be imported successfully into the Spendflo platform from your Netsuite account.
Vendors Import Post Integration
Step 1. From the NetSuite Integrations page, click on the Vendors tab.
Based on the selected accounts, any vendors with transactions in those accounts will be auto-imported. Additionally, if more vendors are required, you can click on Import Vendors and select and import additional vendors as needed.
Step 2. A pop-up pane will appear as the right pane, where users can click on the required vendors to import. Once done, click on "Import" to complete the step.
The vendors will be seamlessly imported into the Spendflo platform from your NetSuite account, and the associated subsidiaries of those vendors will also be imported and available under the Subsidiaries tab.
All transactions imported from the selected account codes will be displayed on the Platform settings > Review Transactions page within the platform.
Consolidated Spends at a vendor level will be available under Insights > Spend page.
Note: Spendflo will automatically try to identify the product based on the transaction description and vendor name. Once the import is successful, please head to the Spend page (https://app.spendflo.com/spend) to view your spend against the apps. In case, you are not able to view all your spend, then head to the transactions page by clicking on "View Transaction" CTA and map the transactions to the product.
Check out this link to know how to integrate Netsuite with the bundle approach: https://help.spendflo.com/support/solutions/articles/103000302197-netsuite-integration-bundle-approach