Netsuite ERP Integration
Last updated: August 14, 2026
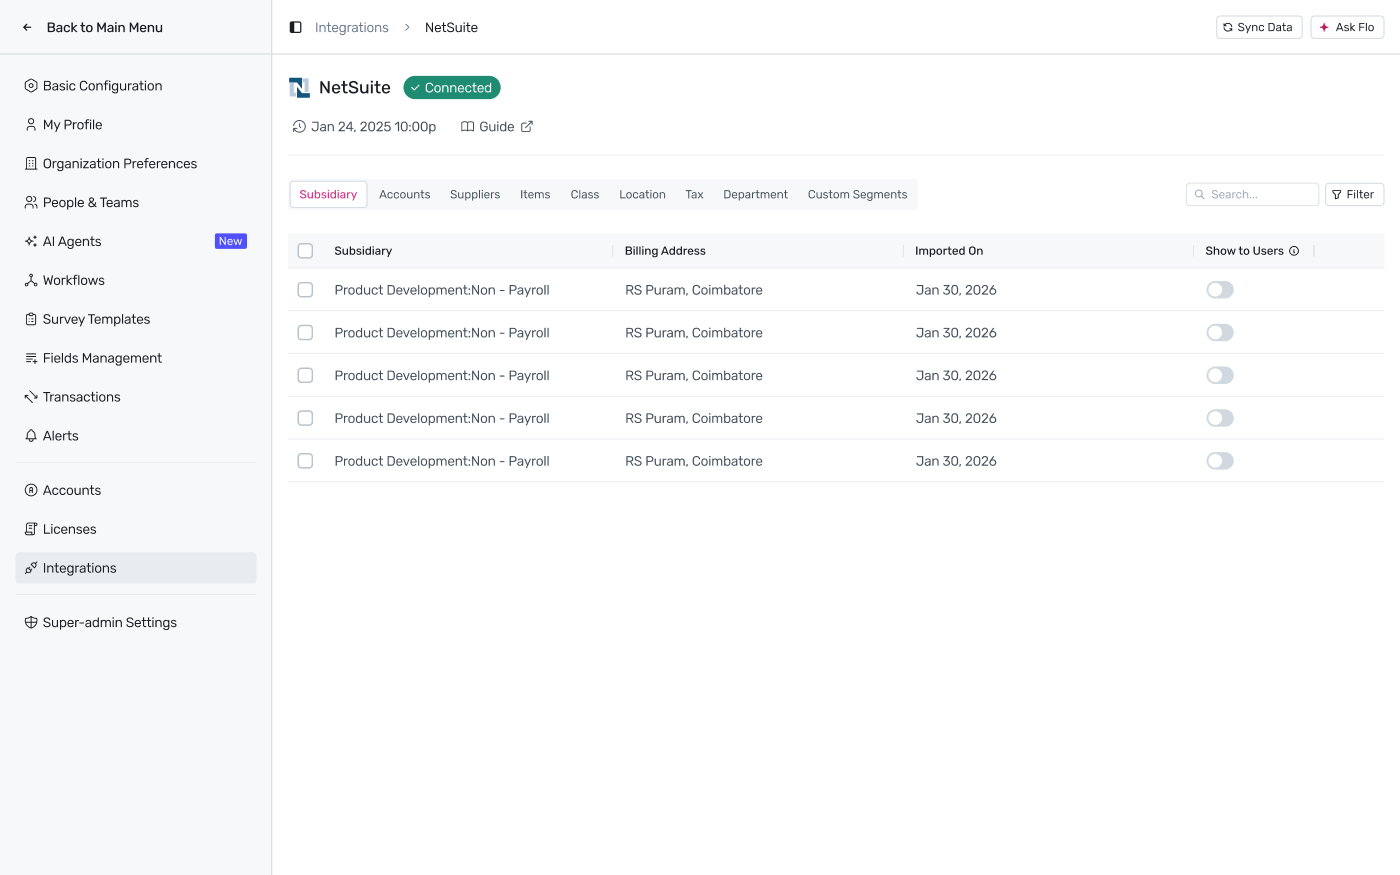
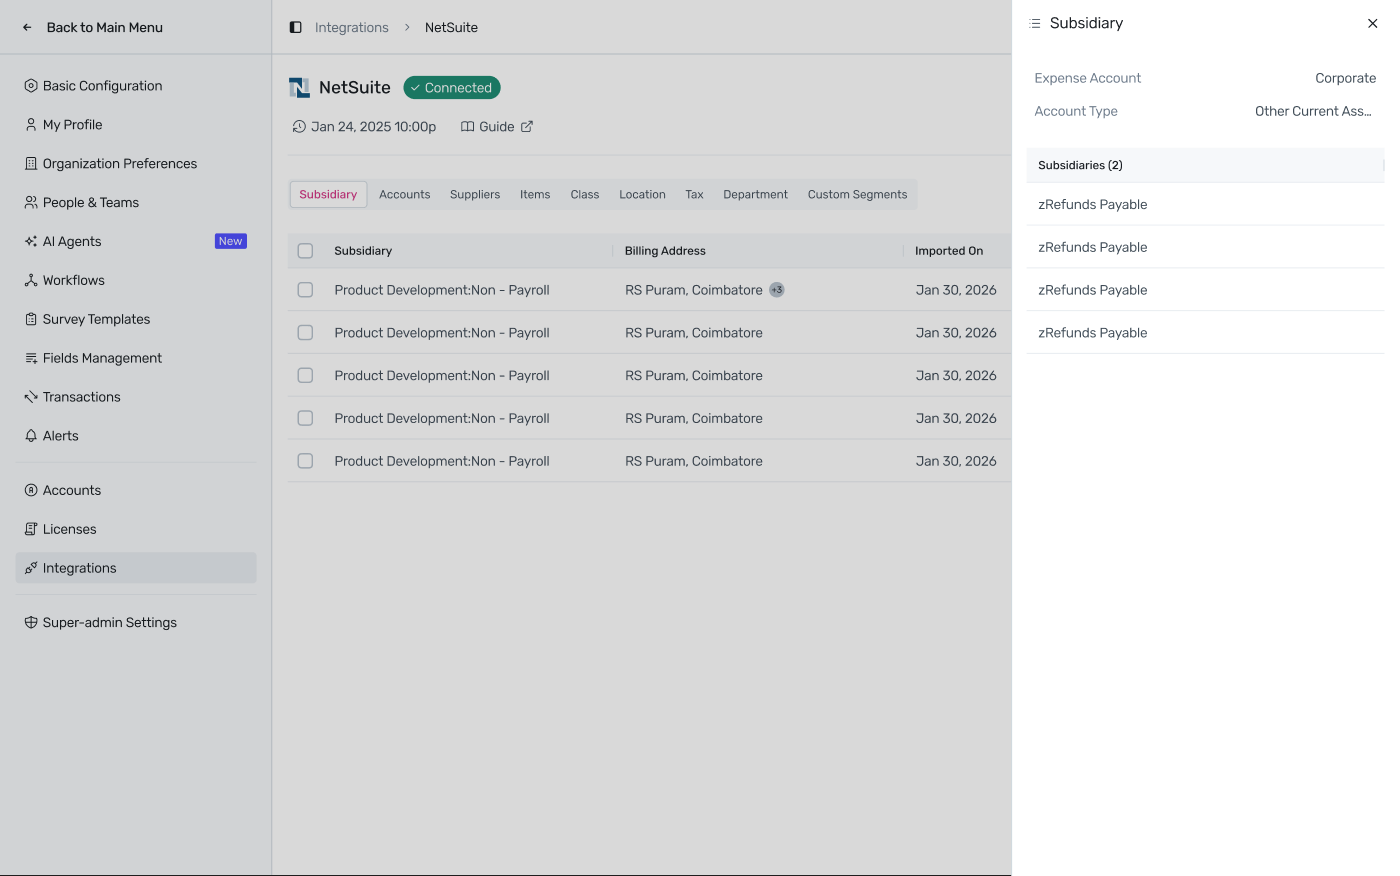
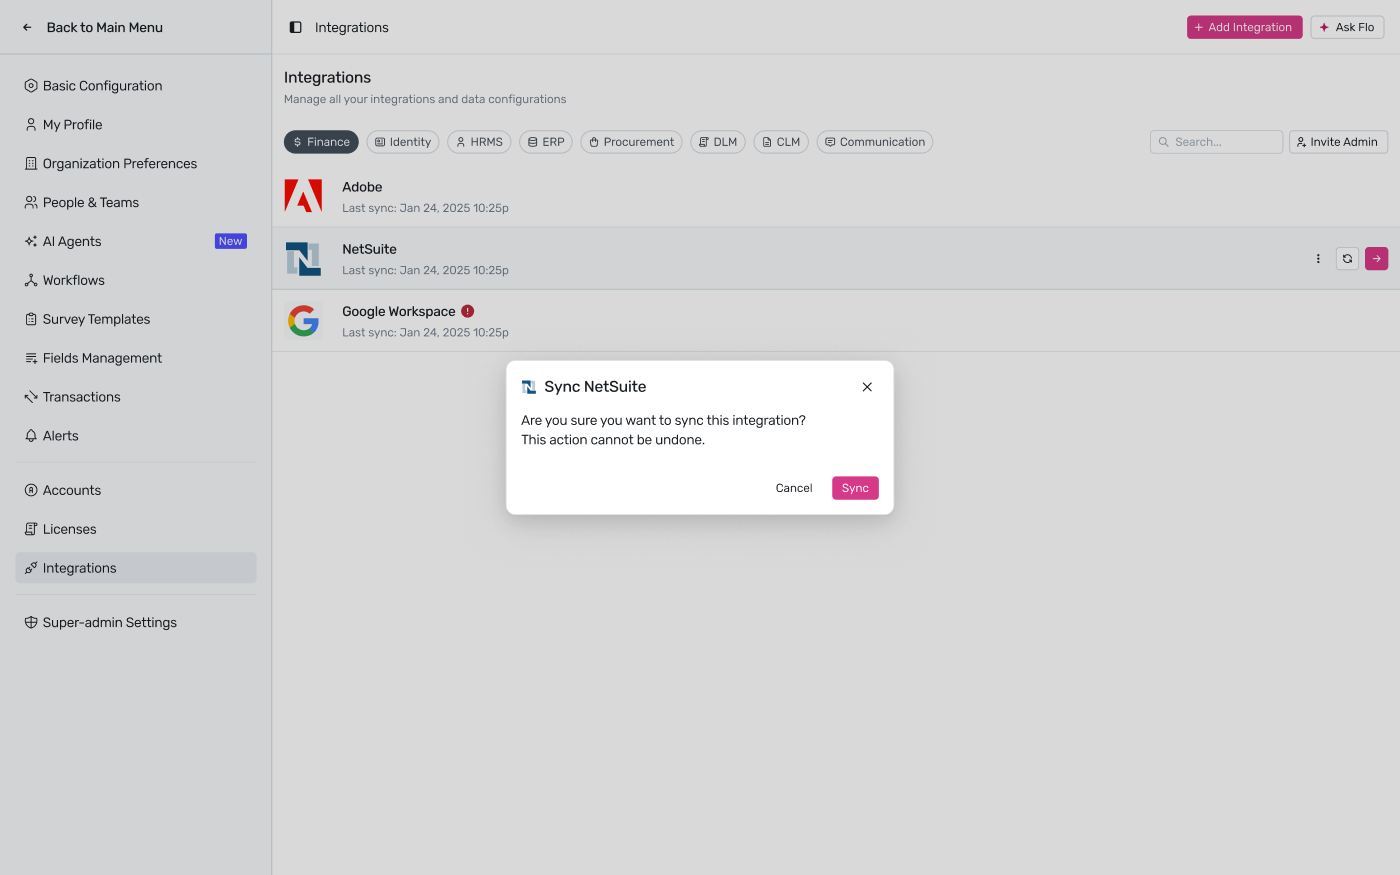
Current NetSuite integration screens:
Overview
Spendflo uses NetSuite to onboard vendors, create purchase orders, and retrieve transactions data – giving you a complete view of your SaaS spend directly within Spendflo.
Prerequisites
Before you begin, make sure the following are in place:
- NetSuite Administrator access – required to configure roles, permissions, and integrations.
- Spendflo Admin access – required to connect the integration from the Spendflo side.
Part 1: Setting Up NetSuite
Complete all the steps in this section inside your NetSuite account before connecting to Spendflo.
Step 1: Retrieve Your NetSuite Account ID
- Log in to your NetSuite portal.
- Look at the URL in your browser.
- Your Account ID is the combination of letters or numbers that appear before "app.netsuite.com" in the URL. For example, if your URL is https://123432345.app.netsuite.com/..., your Account ID is 123432345
- Copy the Account ID and keep it – you will need it when connecting in Spendflo.
Step 2: Enable REST and SOAP Web Services
If you have not already enabled web services, follow these steps:
- Go to Setup → Company → Enable Features.
- Under SuiteCloud, check the boxes next to SOAP Web Services and REST Web Services.
Note: You must be a NetSuite Administrator to access this option.
Step 3: Set Up a Role with the Required Permissions
You need a dedicated role with the correct permissions for the integration to work. To create one:
- Go to Setup → Users/Roles → Manage Roles and click New.
- Give the role a name and click New Role.
- If you are on a Multi-Subsidiary NetSuite instance, ensure the role has access to all subsidiaries and that the Allow Cross-Subsidiary Record Viewing box is checked.
- Add all the permissions listed in the tables below, then click Save.
Note: You can also use an existing role – search for it on the Manage Roles page and verify it has all the permissions listed below.
Transactions Permissions
| Permission | Level |
|---|---|
| Audit Trail | View |
| Bills | View |
| Check | View |
| Credit Card | View |
| Credit Card Refund | View |
| Enter Vendor Credits | View |
| Expense Report | View |
| Find Transaction | View |
| Make Journal Entry | View |
| Purchase Order | Full |
Setup Permissions
| Permission | Level |
|---|---|
| Access Token Management | Full |
| Accounting Lists | Full |
| Custom Body Fields | Full |
| Custom Entity Fields | Full |
| Custom Fields | Full |
| Custom Item Fields | Full |
| Custom Lists | Full |
| Custom Record Types | Full |
| Custom Segments | Full |
| Custom Transaction Fields | Full |
| Deleted Records | Full |
| Login using Access Tokens | Full |
| Manage Accounting Periods | View |
| Other Lists | Full |
| REST Web Services | Full |
| SOAP Web Services | Full |
| SuiteScript | Full |
| User Access Token | Full |
| View Login Audit Trail | Full |
Lists Permissions
| Permission | Level |
|---|---|
| Accounts | View |
| Amortization Schedules | View |
| Classes | View |
| Currency | View |
| Custom Record Entries | Full |
| Departments | View |
| Documents and Files | Full |
| Employee Records | View |
| Employees | View |
| Expense Categories | View |
| Items | View |
| Locations | View |
| Perform Search | View |
| Subsidiaries | View |
| Tax Records | View |
| Vendors | Full |
Note: If the SuiteTax engine is enabled in your NetSuite instance, also add Lists → Tax Details Tab with View access.
Reports Permissions
| Permission | Level |
|---|---|
| Account Detail | View |
| Accounts Payable | View |
| Amortization Reports | View |
| Expenses | View |
| Purchase Order Reports | View |
| SuiteAnalytics Workbook | Edit |
| Transaction Detail | View |
Step 4: Set Up Custom Segment Permissions (if applicable)
Only follow these steps if you use custom segments and need to manage Purchase Orders:
- Go to Setup → Users/Roles → Manage Roles and open the role. Under Permissions → Setup, add Custom Segments and Custom Record Types both with Full access.
- On the same role editing page, go to Permissions → Custom Records. In the Records column, select the required Custom Segment option and set the access level to Full.
- In NetSuite, go to Customization → Lists, Records & Fields → Custom Segments and update the Default Record Access Level to Edit for the required segments.
Step 5: Assign the Role to a User
- Go to Setup → Users/Roles → Manage Users.
- Select an existing user or create a new one.
- To create a new user, go to Lists → Employees → Employees → New. In the employee record, go to the Access tab and select Give Access.
- In the user's employee record, click Edit and go to the Access tab. Under Roles, select the role you just created.
- Click Save to apply the changes.
Note: Creating a new user does not incur additional cost as long as you have sufficient licences. To check, go to Setup → Company → View Billing Information and compare Current Provision Qty with Current Used Qty.
Step 6: Create an Integration to Obtain Your Consumer Key and Secret
- Go to Setup → Integrations → Manage Integrations and click New.
- Give the integration a name. Under Scope, ensure REST Web Services is checked.
- In the TBA Authorization Flow field, enter the redirect URI: https://api.truto.one/connect/netsuite/callback
- Save the integration. Your Consumer Key and Consumer Secret will be shown at the bottom of the confirmation screen. Copy these immediately – they will only be shown once.
Note: The Concurrency Limit should ideally be set to null. If a value is required, the minimum should be 3.
Step 7: Create an Access Token to Obtain Your Token ID and Secret
- Go to Setup → Users/Roles → Access Tokens and click New.
- Create a new Access Token using the user and role you just configured. Your Token ID and Token Secret will be shown once. Copy and store them securely.
Step 8: Add the SuiteScript
NetSuite does not expose all REST APIs directly, so Spendflo uses a SuiteScript to fetch Purchase Order field data and generate PO PDFs. The SuiteScript file will be shared with you by the Spendflo team.
Upload the SuiteScript
- Save the SuiteScript file shared by Spendflo with a .js extension.
- In NetSuite, go to Documents → Files → SuiteScripts and click Add File. Upload the .js file.
Deploy the SuiteScript
- Go to Customization → Scripting → Scripts → New. Search for the uploaded script and click Create Script Record.
- Enter a Name and ID for the script (any preferred format), then click Save & Deploy.
- Set Execute as Role to the Spendflo integration role you created. Change Status from Testing to Released (not Deployed), then click Save.
- The script URL will now be displayed. Copy it and keep it handy – you will need to enter it in Spendflo during connection.
Note: Tip: In the Audience tab (optional), you can add the Spendflo integration role under Internal Roles for monitoring purposes.
Part 2: Connecting NetSuite in Spendflo
Once all the NetSuite-side setup is complete, follow these steps to connect the integration in Spendflo.
- In Spendflo, go to Integrations → Add Integration → Search for "Netsuite".
- Click the dropdown and select NetSuite. A modal with help documentation will appear – click Connect to proceed.
- Spendflo uses Truto to connect securely. Fill in your credentials: Account ID, Consumer Key, Consumer Secret, Token ID, Token Secret, and the SuiteScript URL. If you need help finding these, click "Where can I find this information?" in the modal.
- Click Connect. NetSuite will now be successfully integrated into Spendflo.
Note: To add a second ERP integration, click the dropdown above Add Finance Integration and repeat the steps above.
Part 3: Post-Integration – Configuring Your Data
Selecting Account Types
After a successful connection, a slider panel will appear prompting you to select the Account Types you want imported into Spendflo.
- Select the required account types. All account codes linked to the selected types will be imported automatically.
- Spendflo will begin importing all related account data. This may take up to 24 hours.
If you closed the slider or skipped this step, you can configure it later:
- Go to Integrations → NetSuite → Edit Configuration.
- Navigate to the Accounts tab and click Configure Account Types.
- Select the required account types.
What Gets Imported
Once Account Types are selected, all other ERP fields are automatically imported. This includes:
- Vendors
- Items
- Subsidiaries
- Departments
- Locations
- Classes
You can view all imported data inside their respective tabs within the NetSuite integration in Spendflo.
Controlling What Users See – Show to Users Toggle
Each imported ERP attribute has a Show to Users toggle, which is enabled by default.
- Toggle ON – The attribute appears in request flows and intake forms.
- Toggle OFF – The attribute is hidden from intake forms but remains in the system.
Keeping Your Data Up to Date
Spendflo keeps your NetSuite data current in the following ways:
- Auto Sync – Spendflo automatically syncs with NetSuite every 24 hours.
- Manual Sync – If you need data updated immediately, use the Sync Data button at the top right to trigger an on-demand sync at any time.