Bulk Actions on the Integration Data
Last updated: June 26, 2026
Overview
Bulk actions allow users to manage multiple tasks or items at once, reducing manual effort and saving time. It streamlines routine tasks like importing, exporting, modifying, or deleting data in the system.
The following steps of the documentation showcase the bulk actions that can be done on the Spendflo platform:
Bulk Import
Step 1. Click on Settings, then navigate to Platform Settings → Integrations → Finance, and select the Configure Integration button. Open any relevant tab such as Vendors or Accounts, and click on Import Vendors or Import Accounts to perform the bulk import action.
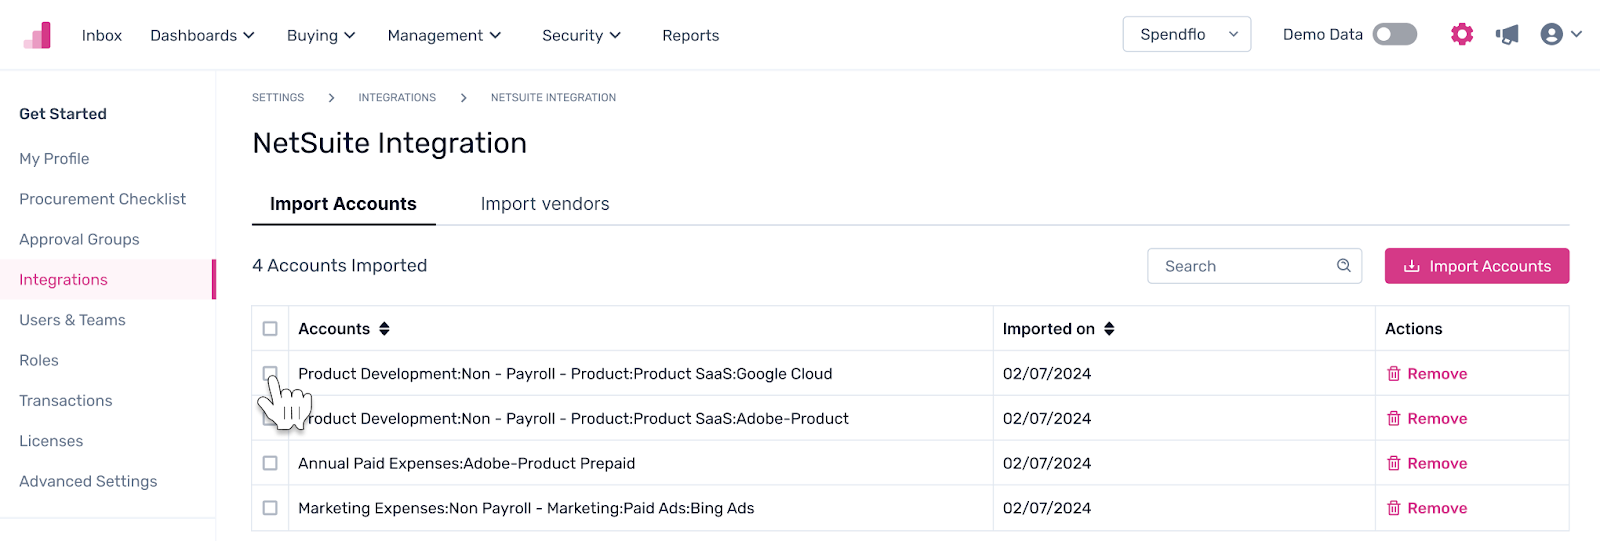
Step 2. Click on the CTA “Import Accounts” on top of the table. Perform the “Accounts and Vendors Import” steps as given on the Direct integration with Netsuite ERP documentation.
Once the steps are complete, the vendor imported vendors and accounts details will be displayed on the integrations page.
Bulk Delete
Step 1. Click on Settings, then navigate to Platform Settings → Integrations → Finance, and select the Configure Integration button. Open any relevant tab such as Vendors or Accounts, and click on Import Vendors or Import Accounts to perform the bulk delete operation.
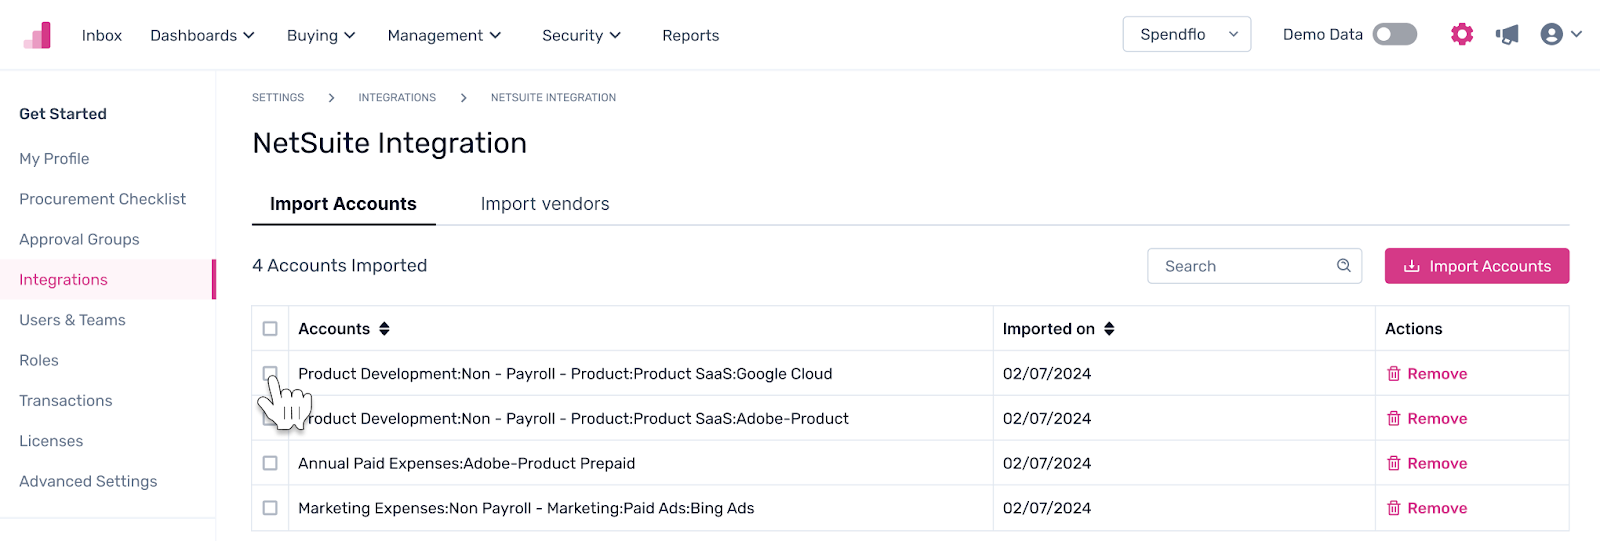
Step 2. From this list, select the desired accounts to be deleted.
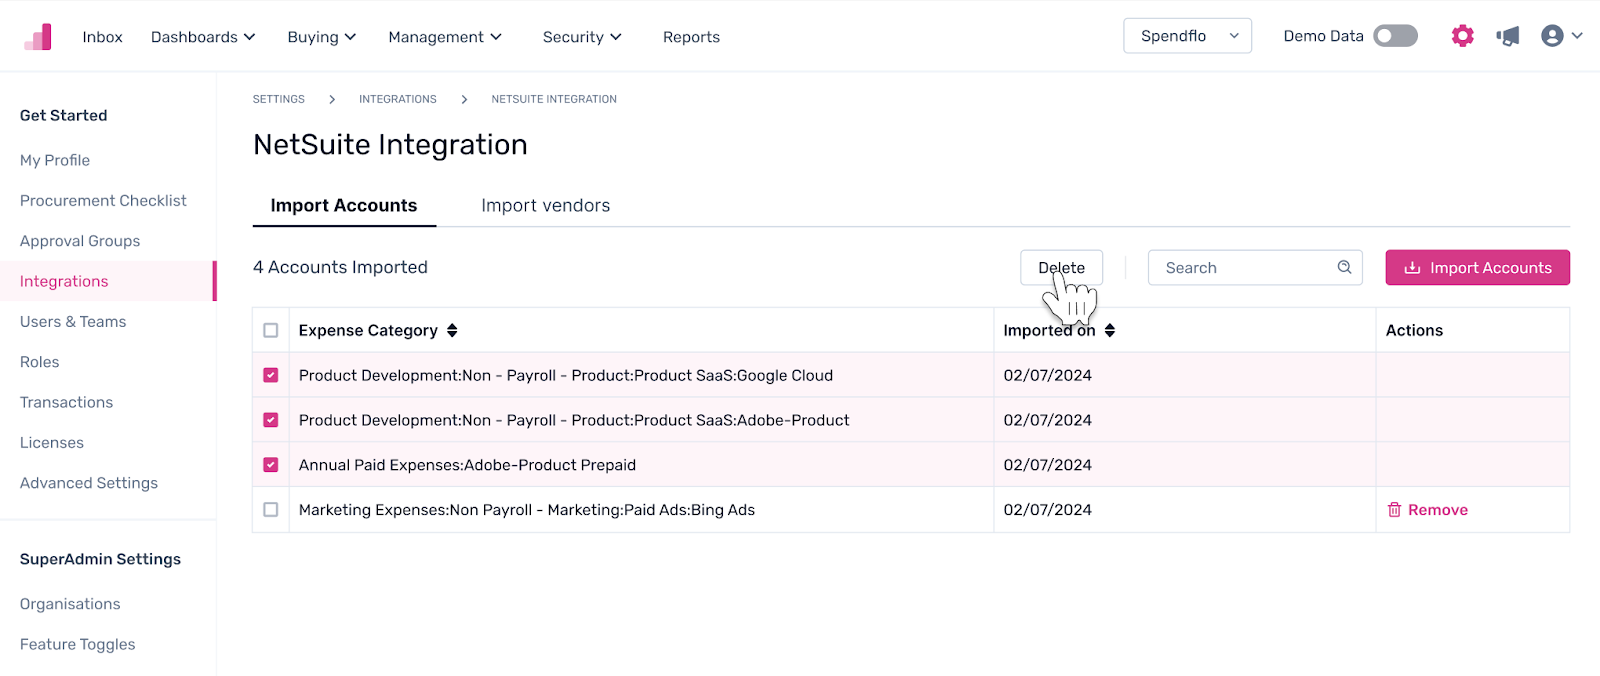
Step 3. Once the selection is done, a “Delete” CTA will appear right above the table. Click on it to complete the action.
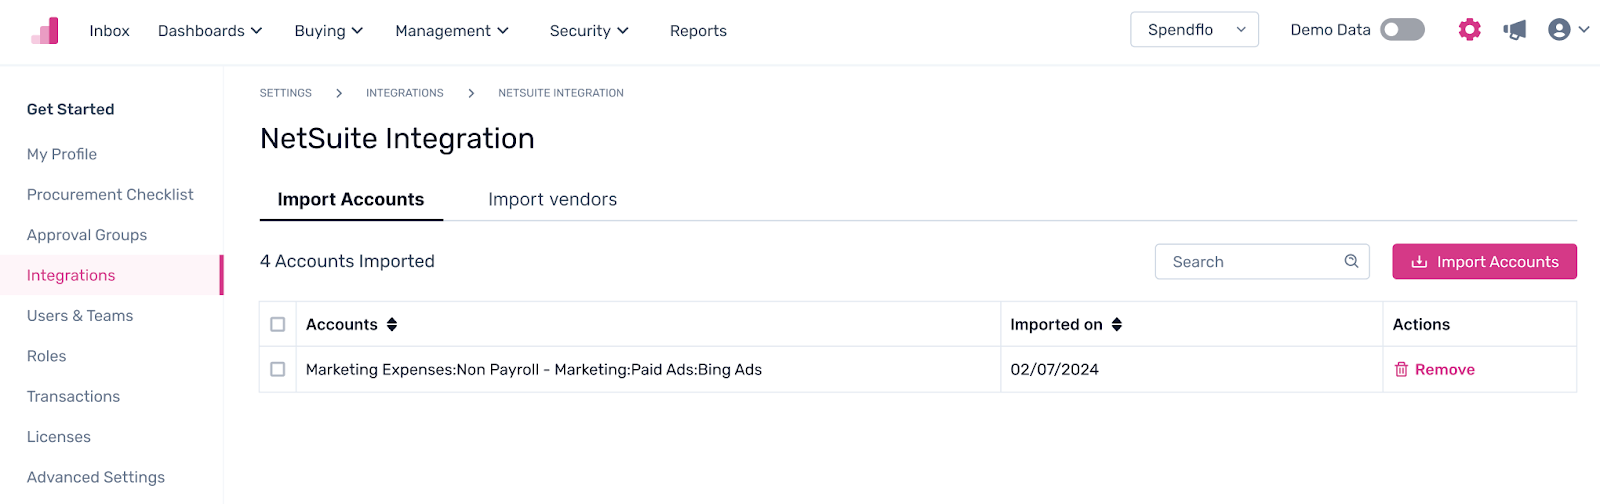
Now, the revised list will appear right away on the same tab.
To learn more about vendor management and vendor listing within the Spendflo platform, click here.