Importing contracts via CSV: upload & AI-assisted mapping
Last updated: July 28, 2026
Overview
Instead of adding contracts one at a time, Administrators can bulk-import contract records from a CSV file. Spendflo uses AI to automatically match your spreadsheet's columns to the right fields, so you don't have to configure the mapping by hand for a well-structured file.
This article covers uploading your file and reviewing the column mapping. For validating your data and confirming the import, see Validating and confirming a CSV contract import.
Who can do this
Only users with the Administrator role can start or manage a contract import.
Before you start
- Your file must be a .csv file with a header row as the first row, saved as UTF-8.
- Maximum file size is 10MB.
- Use the Download sample CSV link in the upload dialog to get a file with the correct column headers to work from.
Step 1. Start the import
Go to Contracts, click + New, and under “Upload using” choose CSV (alongside Google Drive, OneDrive, and Gmail).

If a contract import is already running for your organization, this option will be disabled with a message asking you to wait for it to finish — only one contract import can run at a time per organization.
Step 2. Upload your file
Drop your CSV into the Import using CSV dialog, or click to browse for it. Once it's attached, click Extract.
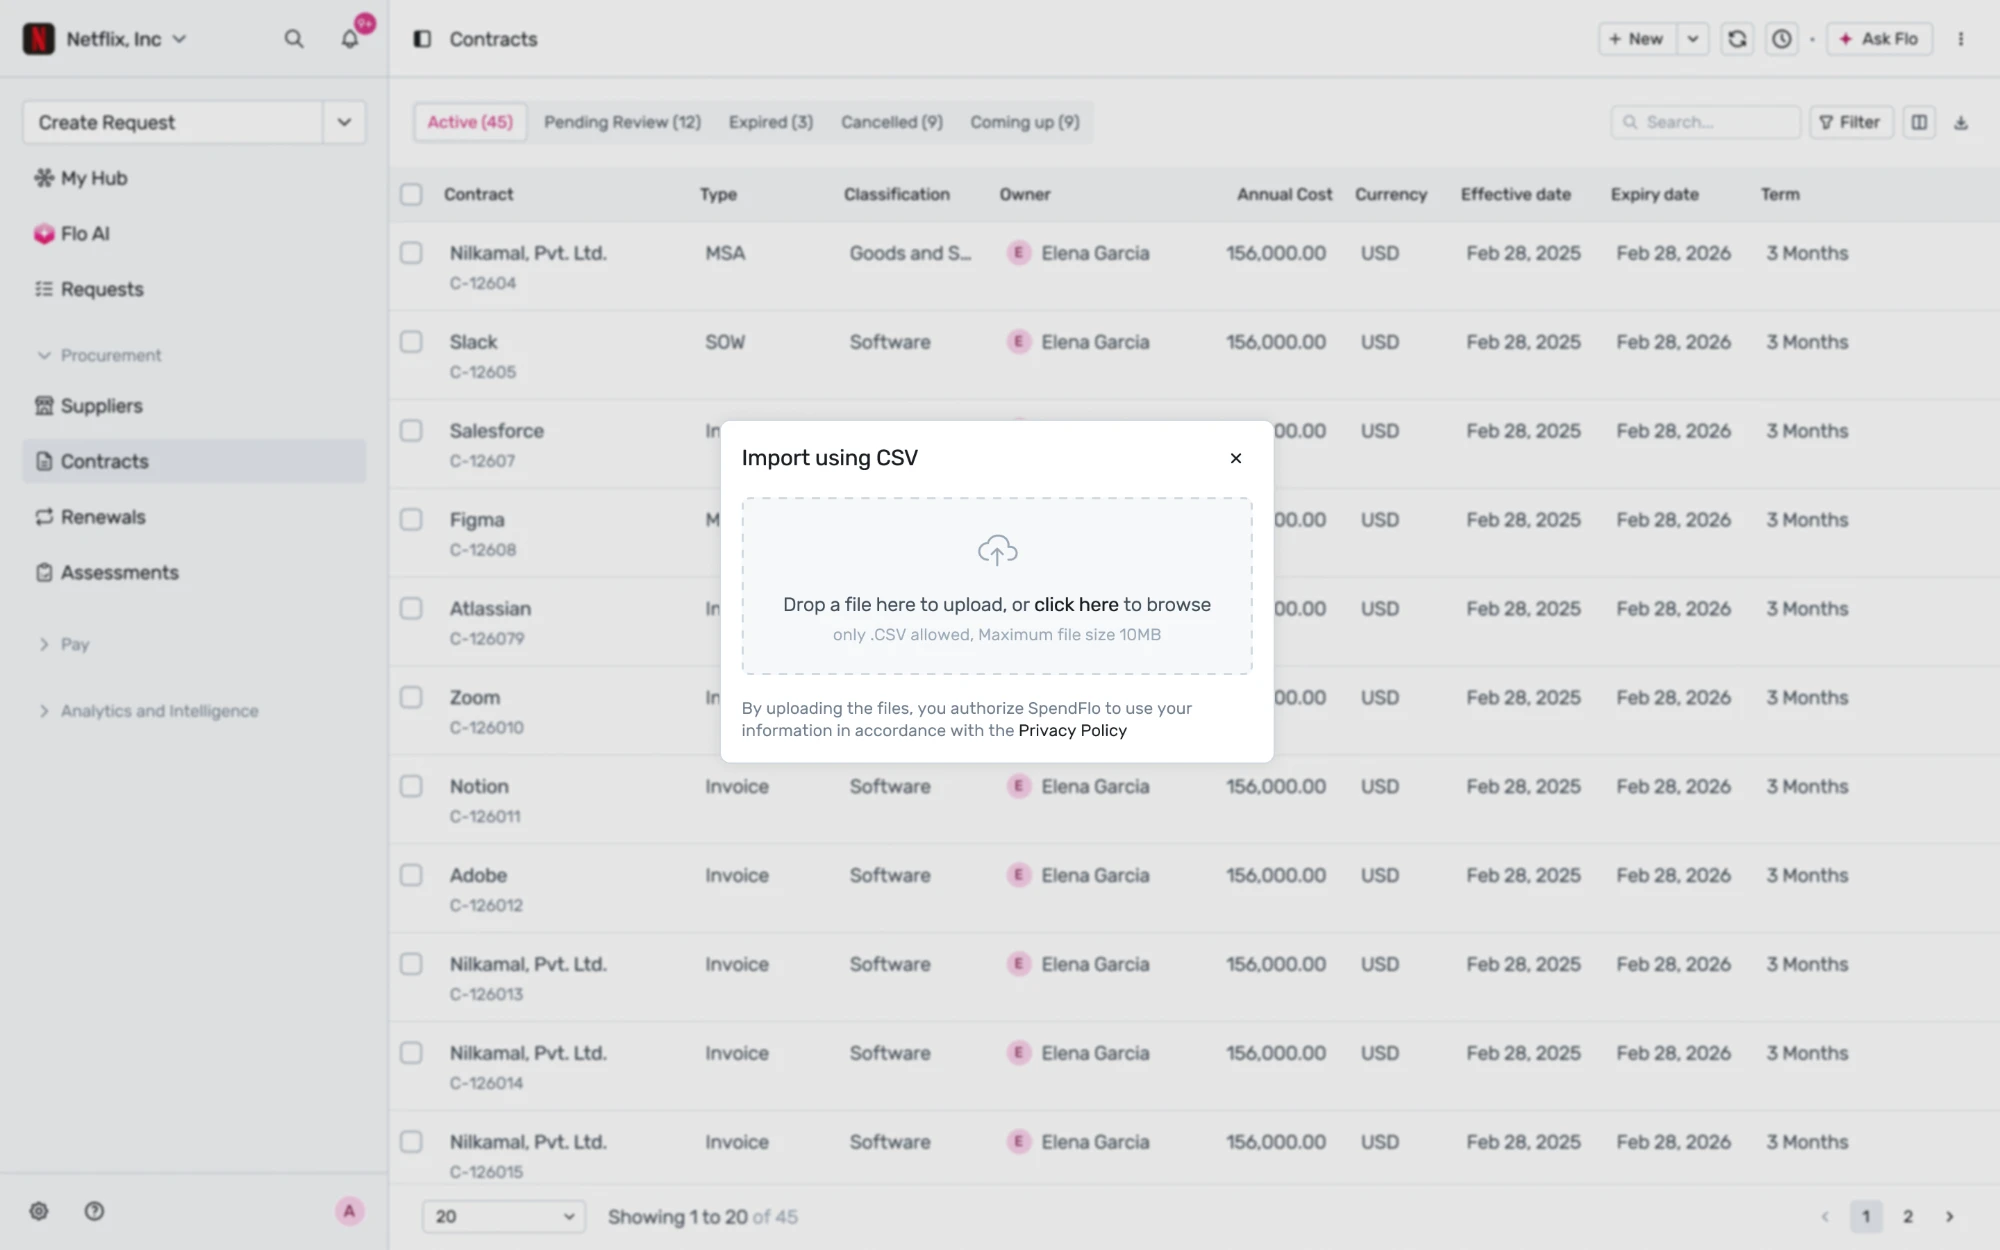

Spendflo checks the file before moving on, and will show an inline error if:
- The file isn't a .csv file
- The file is empty, or has a header row but no data rows below it
- The file exceeds the 10MB size limit
Note: By uploading a file, you authorize Spendflo to use the information in it in accordance with the Privacy Policy.
While your file is being read
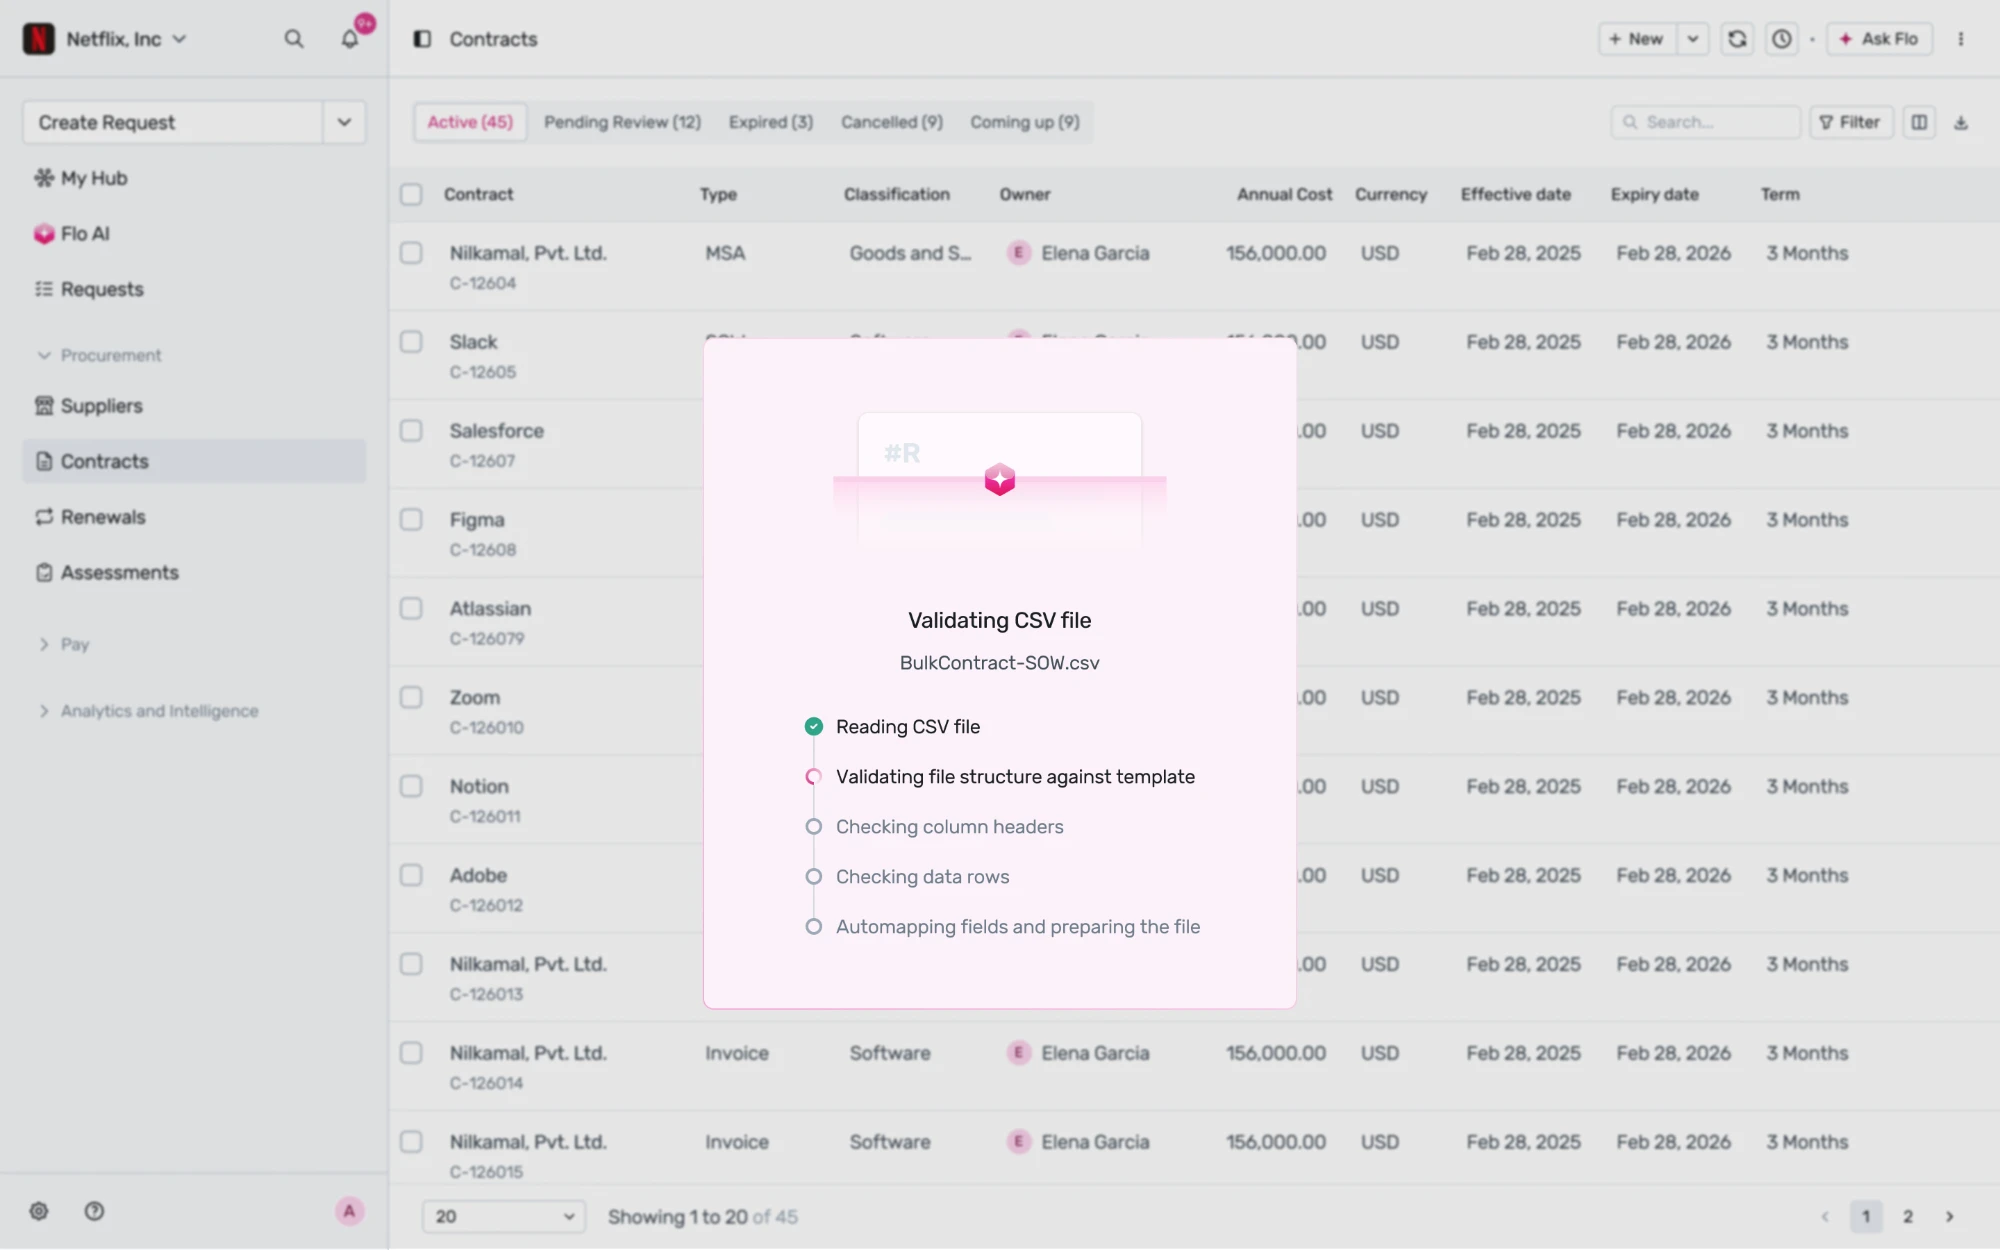
You'll briefly see a “Validating CSV file” progress screen while Spendflo reads your file, checks its structure and column headers, checks the data rows, and auto-maps fields:
- Reading CSV file
- Validating file structure against template
- Checking column headers
- Checking data rows
- Automapping fields and preparing the file
Step 3. Review the AI-suggested mapping
Spendflo reads your column headers and a few sample values from each column, then suggests which Spendflo contract field each column maps to — for example, a column called “Vendor Name” is mapped to the vendor_name field automatically.

Each row in the mapping table shows:
- Extracted CSV Column — the column header from your file. Required fields are marked with *.
- Mapped Value — the Spendflo field it's mapped to, shown as an editable dropdown. You can change this at any time; the dropdown includes a search box to find a specific field quickly.
- Sample — a few example values from that column, so you can confirm the mapping looks right.
- Confidence Score — how sure Spendflo is about the suggested mapping: High, Medium, or Low. Low-confidence mappings are worth double-checking.
Use the All / Unmapped / Mapped / Ignored tabs above the table to filter the view, and the progress counter (e.g. “6 of 10 mapped”) to see how much is left.
A column can be:
- Mapped — matched to a field; change it via the dropdown if needed.
- Unmapped — no match found yet; pick a field manually from the dropdown.
- Ignored — explicitly set to “Do not import”; data in this column will not be brought into Spendflo.
Only one column can be mapped to a given Spendflo field at a time — mapping a second column to the same field automatically un-maps the first.
Note: Every column needs a decision before you can continue — not just the required ones. If you try to continue with columns still unresolved, you'll see: “Incomplete Mapping — 1 required field hasn't been mapped yet. Optional fields must also be mapped or marked as ‘Do Not Import’ before continuing.”

Save your progress
Not ready to finish mapping? Click Save as Draft to save your column assignments and come back to this step later.
Once every column is mapped or ignored, click Continue to move to data validation — covered in Validating and confirming a CSV contract import.