How to add a phase
Last updated: June 26, 2026
Overview
Within Spendflo’s workflow studio, phases are readily available within the templated workflows. However, the phases can also be customized. Once a workflow is created as a new custom workflow, the two phases that are available by default are Intake and Completed. To know how to add a phase, follow these steps.
Adding phases on a new workflow
Step 1. Create a new workflow within the workflow module.
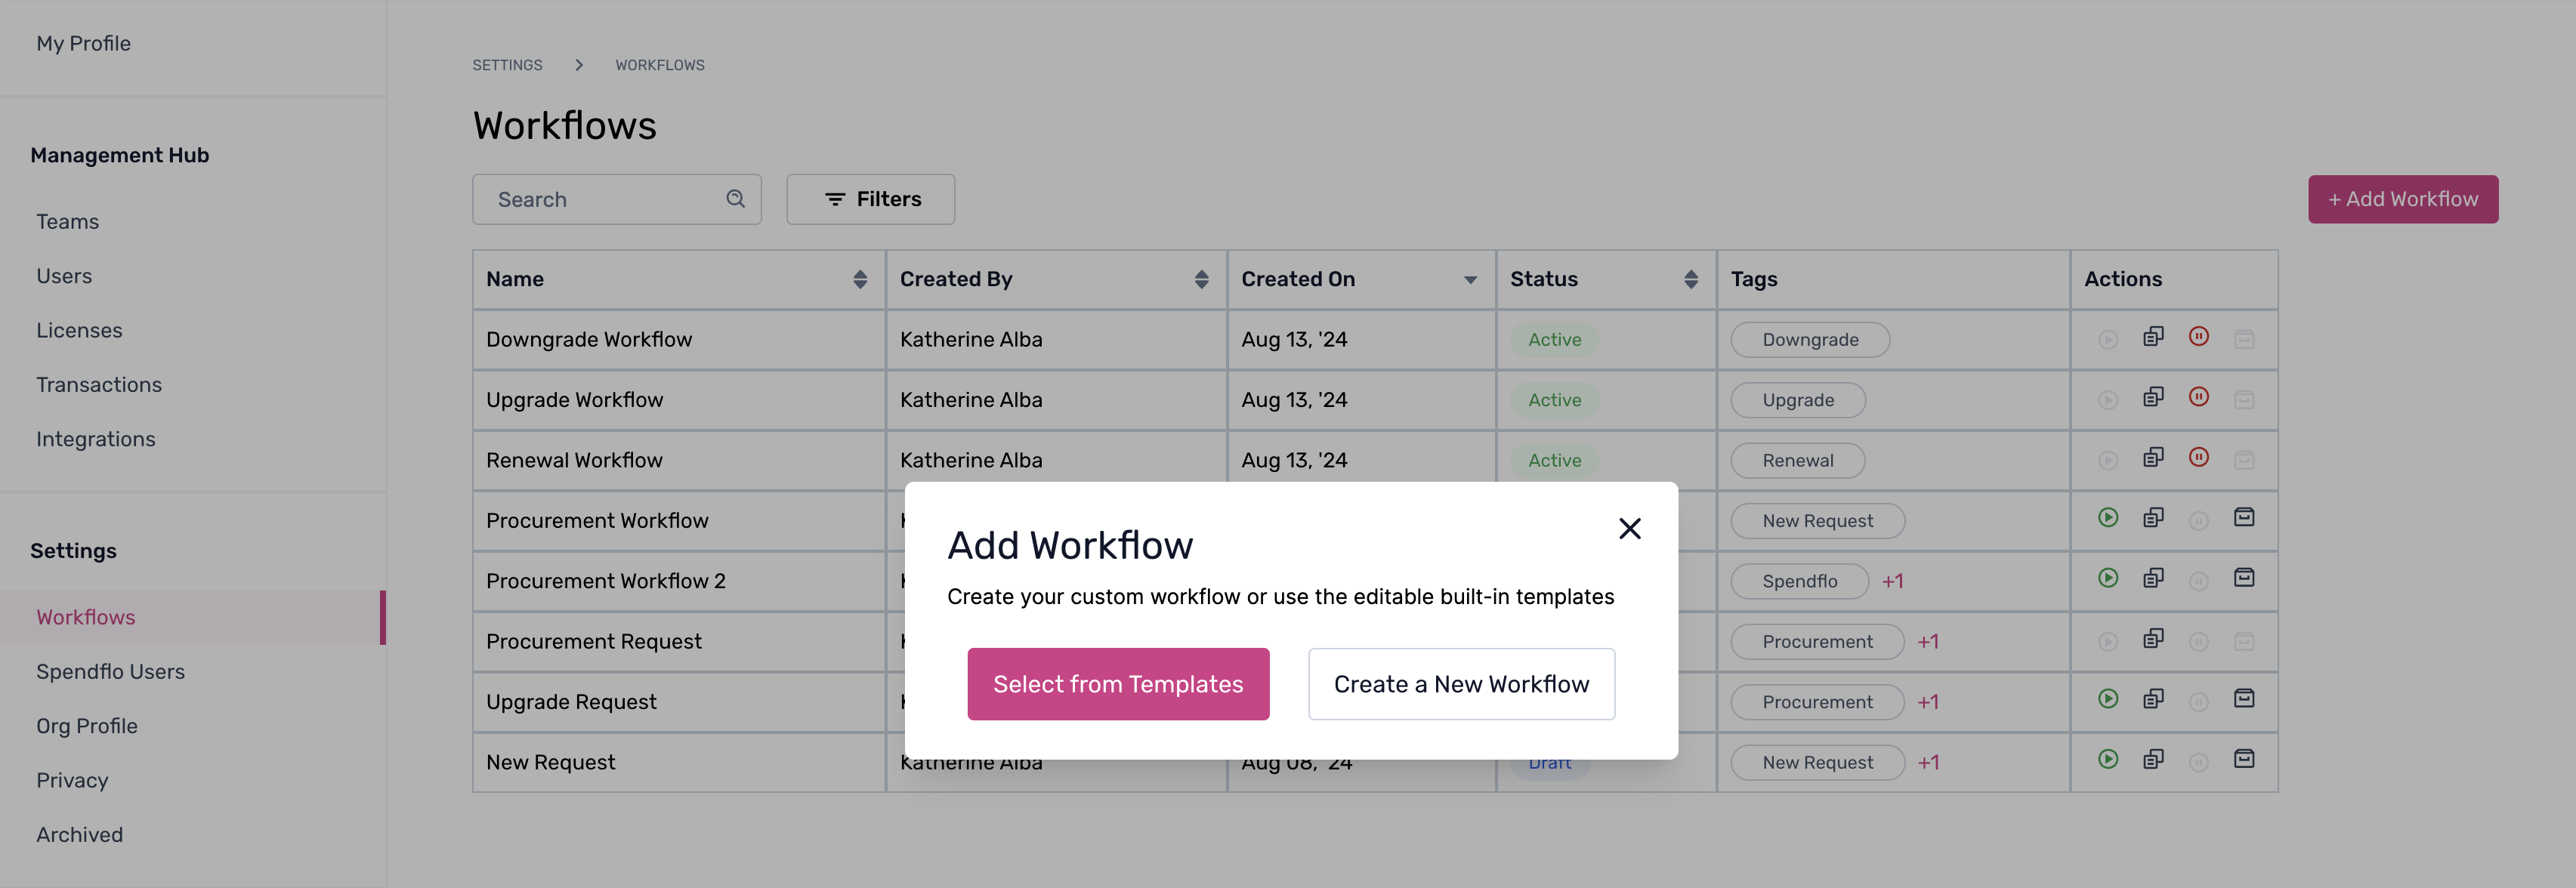
Step 2. Fill in the details of the workflow name, description, and tags to proceed.

Step 3. The workflow studio has the phases Intake and Completed available by default to get started with. Click the '+' icon beside the available phase on the screen.

Step 4. Create the name from the pop-up and click Create Phase to proceed.
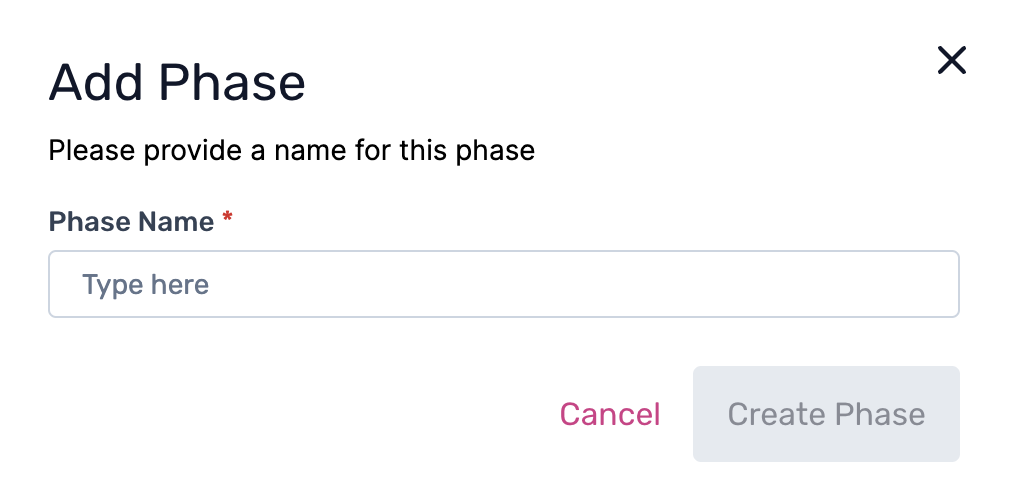
This new phase will now be added to the workflow created. To add a phase to an active or existing workflow, follow the following steps.
Adding phases on an active workflow
Step 1. Click on an active or ongoing workflow to add conditions.
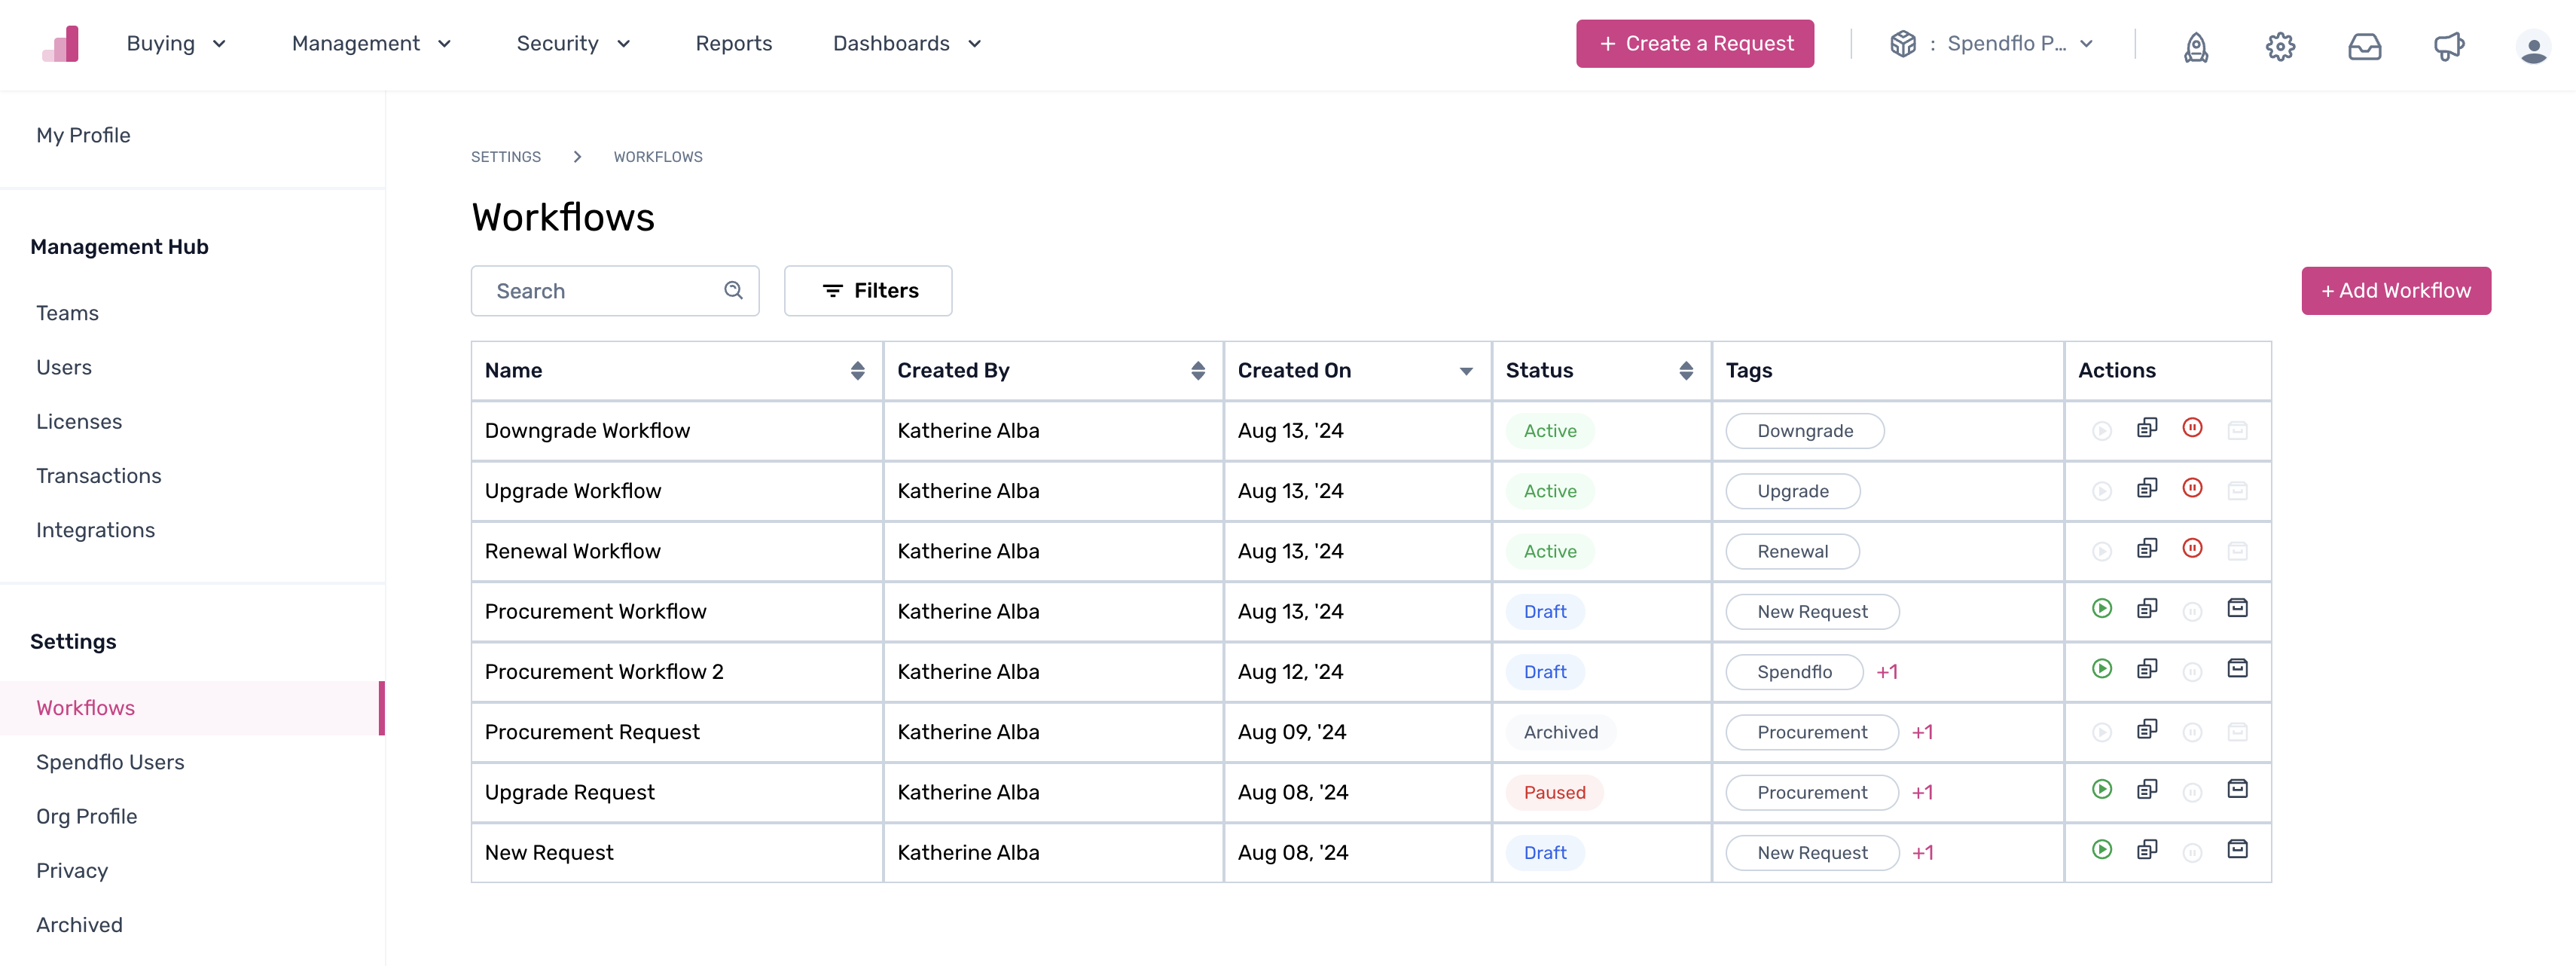
Step 2. The existing phases are visible within the workflow studio. Click on the '+' icon next to the existing phases to create a new phase.

Step 3. Create the name from the pop-up and click Create Phase to proceed.
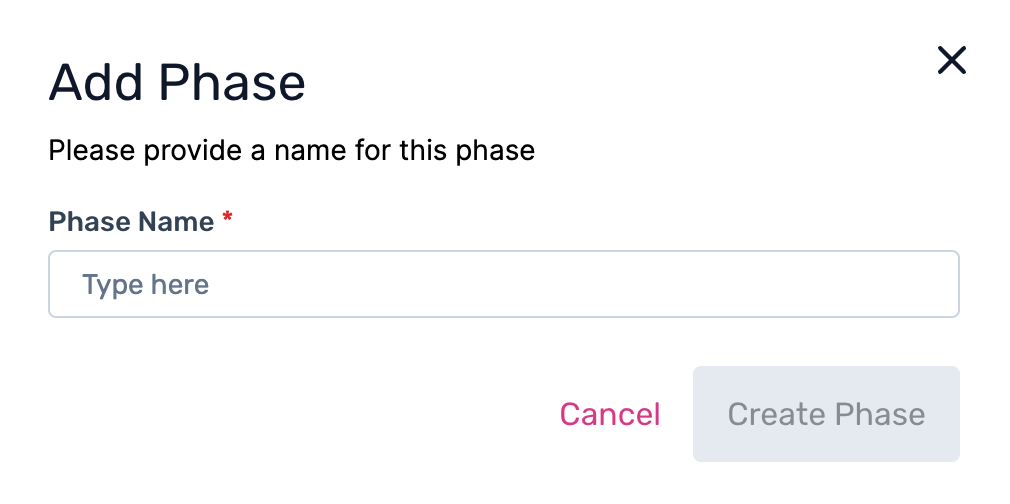
This new phase will now be added to the workflow created.
To learn more about how to edit a phase, click here.