Overview
Once the workflow is created within the workflow module, the admin can add tasks and configure them extensively. Follow these steps to learn to configure and edit a task in detail:
Editing tasks
Step 1. After creating a new workflow, the workflow studio shows the button to '+ Add Task.’ Click on it and create a Task Name and a description for the new task in the pop-up. Once added, click on 'Create Task' to proceed.
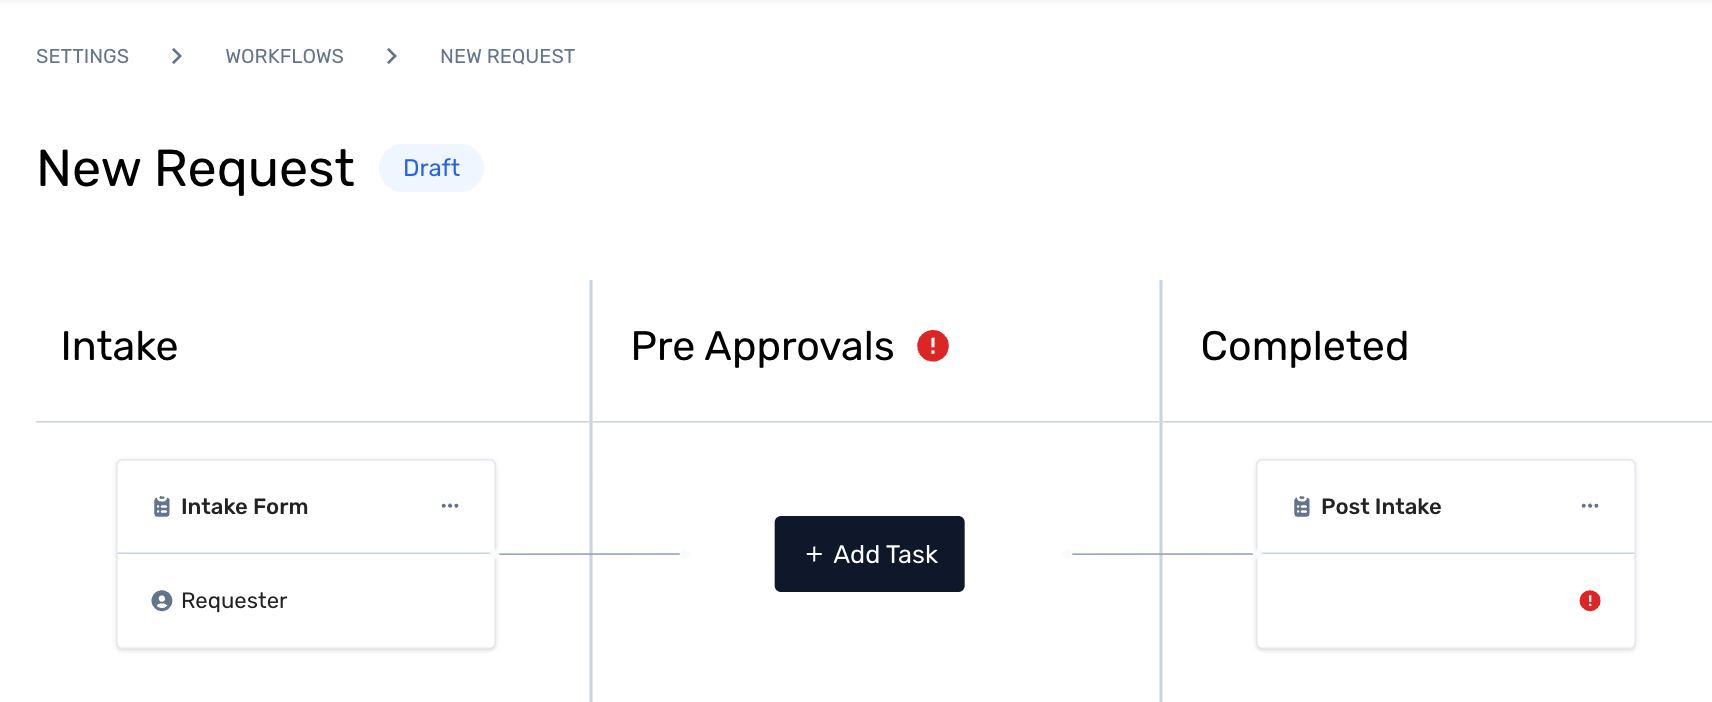
Or follow this alternate step for an existing task.
For existing workflows, where phases and tasks are added, click the task menu and select Edit to proceed with the task configuration.

Step 2. From the Task Configuration screen, admins can configure the task details such as the following:
Component | Description | Screen View |
Task Name | The name of the task field is mandatory and can be edited or renamed. Admins can prefer to provide a clear and descriptive name that gives an immediate understanding of the task's purpose. | 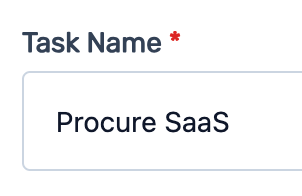
|
Type of Task | The platform provides two types of tasks — approval and completion that are differentiated by specific actions to be completed on the task. Admins can choose this mandatory field to select an option to determine and organize the tasks within each workflow phase. | 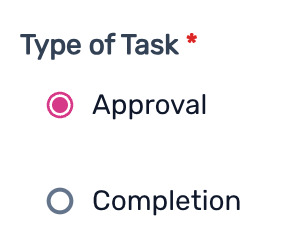
|
Task Owner - Role | Admins can assign a task owner for each task created based on the role. The options on the dropdown are - Requester, Engagement Manager, and CSM. The Task Owner field is mandatory. | 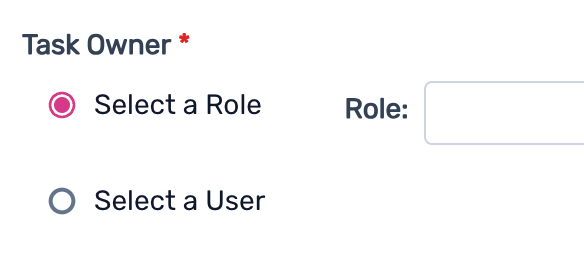
|
Task Owner - User | Admins can assign a task owner for each created task based on the user type, which can be searched within the Spendflo platform. The Task Owner field is mandatory. | 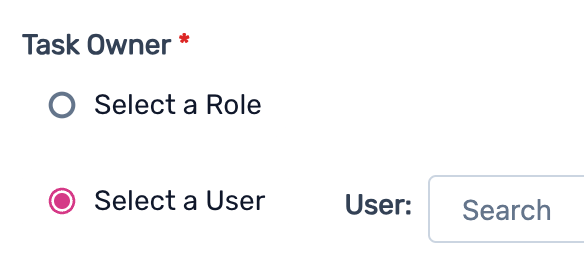
|
Task Description | Unlike the above three fields, the description is not mandatory. However, admins can fill this out to provide a detailed explanation of the task as required, including its objectives, requirements, and any necessary instructions explained to the task owners. | 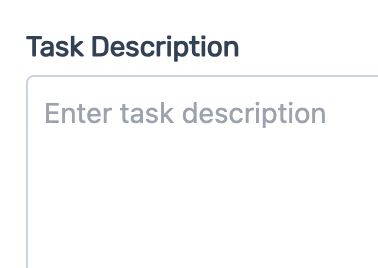
|
Due Date for Task | Once all the details are filled out, admins can choose a deadline by which the task must be completed, especially for managing time-sensitive tasks. This field is a choice; once checked, admins can edit it based on their preferences. | 
|
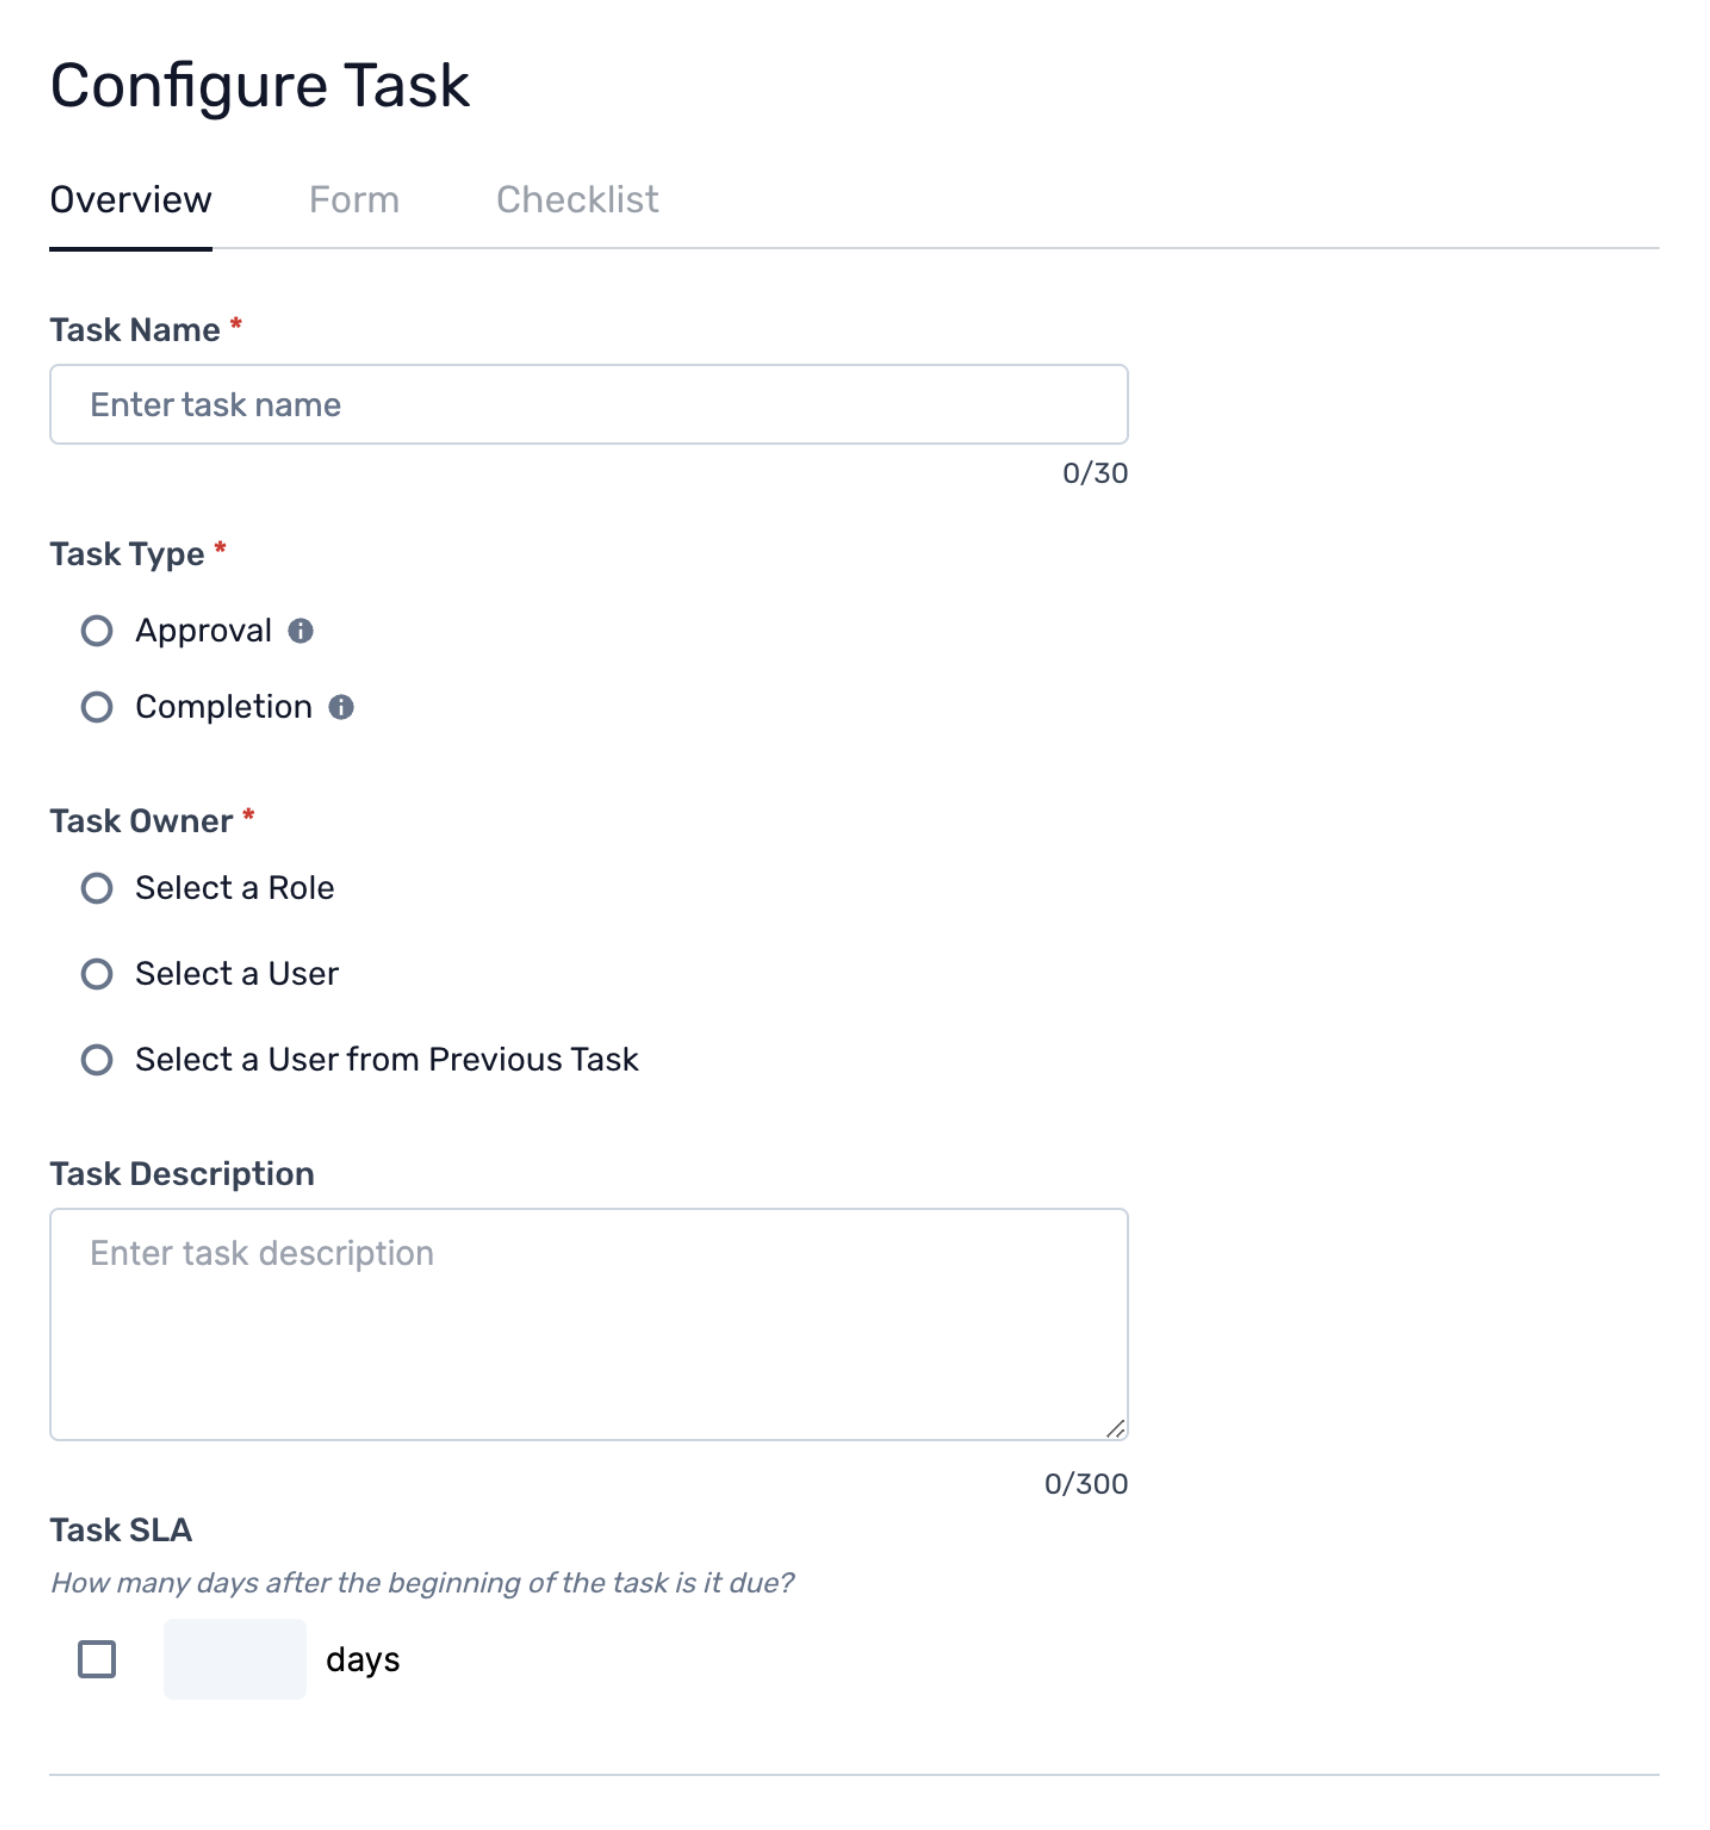
Once all the overview details are filled out, click Save and Continue to proceed.
Step 3. Next, admins can build and configure custom forms based on the task's requirements.

To know more forms, fields, and definitions, click here. Learn more about building custom forms from here.