How to add, edit, and delete tags
Last updated: June 26, 2026
Overview
Tags for workflows within the Spendflo platform can be added to easily identify the workflow category and make it easier to manage the workflows efficiently with filters and sorting options.

Here’s how tags can be added and edited within the workflow:
Adding tags to a new workflow
Step 1. Create a new workflow from the workflow module. Click here to learn more about workflow creation.

Step 2. Create the Workflow Name, Description, and Tags within the Workflow Details pop-up. Here, the tags can be added and customized based on the workflow, or admins can create new tags on the go. Existing tags can also be used based on the workflow category.
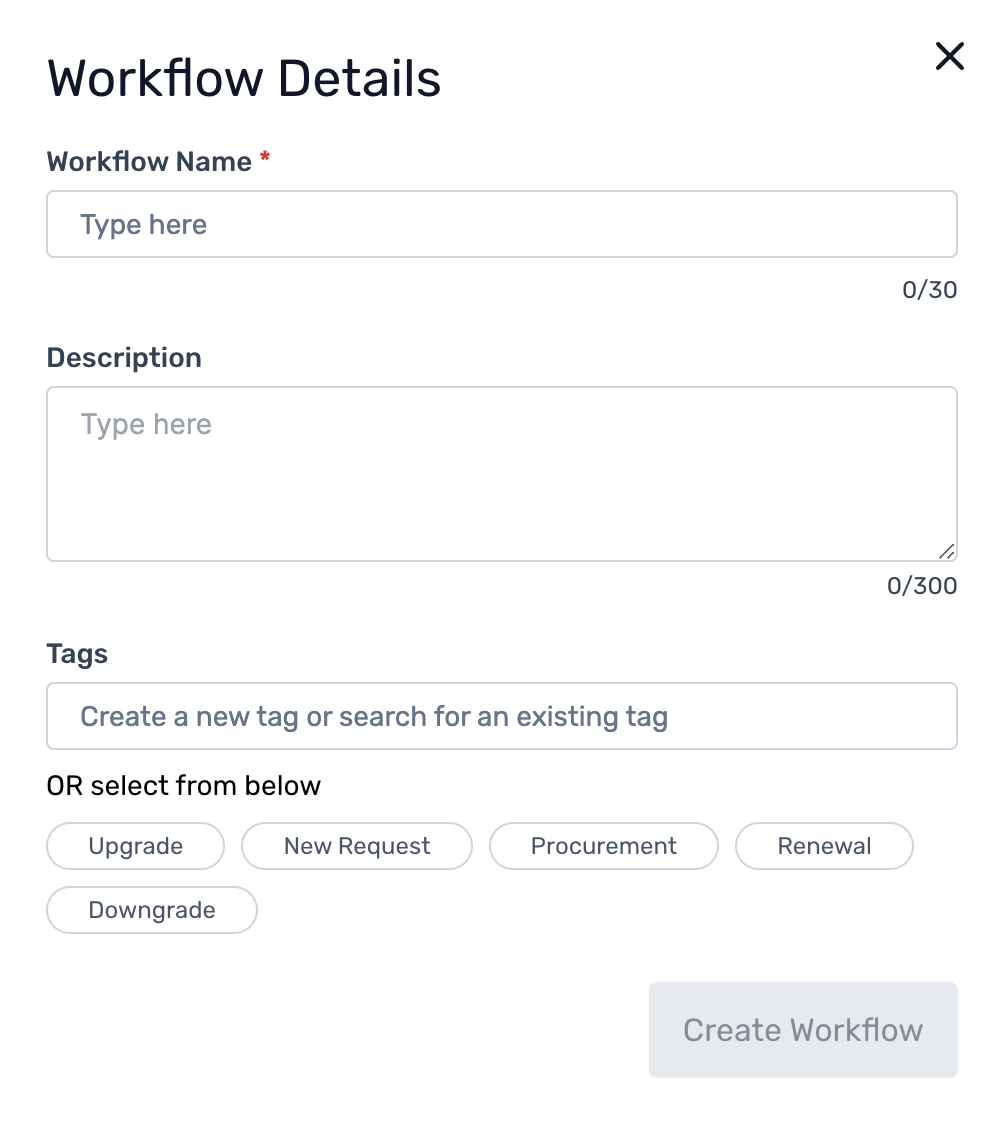
Step 3. Once the tags are created and added, click on Create Workflow. The new workflow and the tags added will now be visible within the workflow listing page.

The following steps can be followed while creating tags on an active workflow.
Adding tags to an active workflow
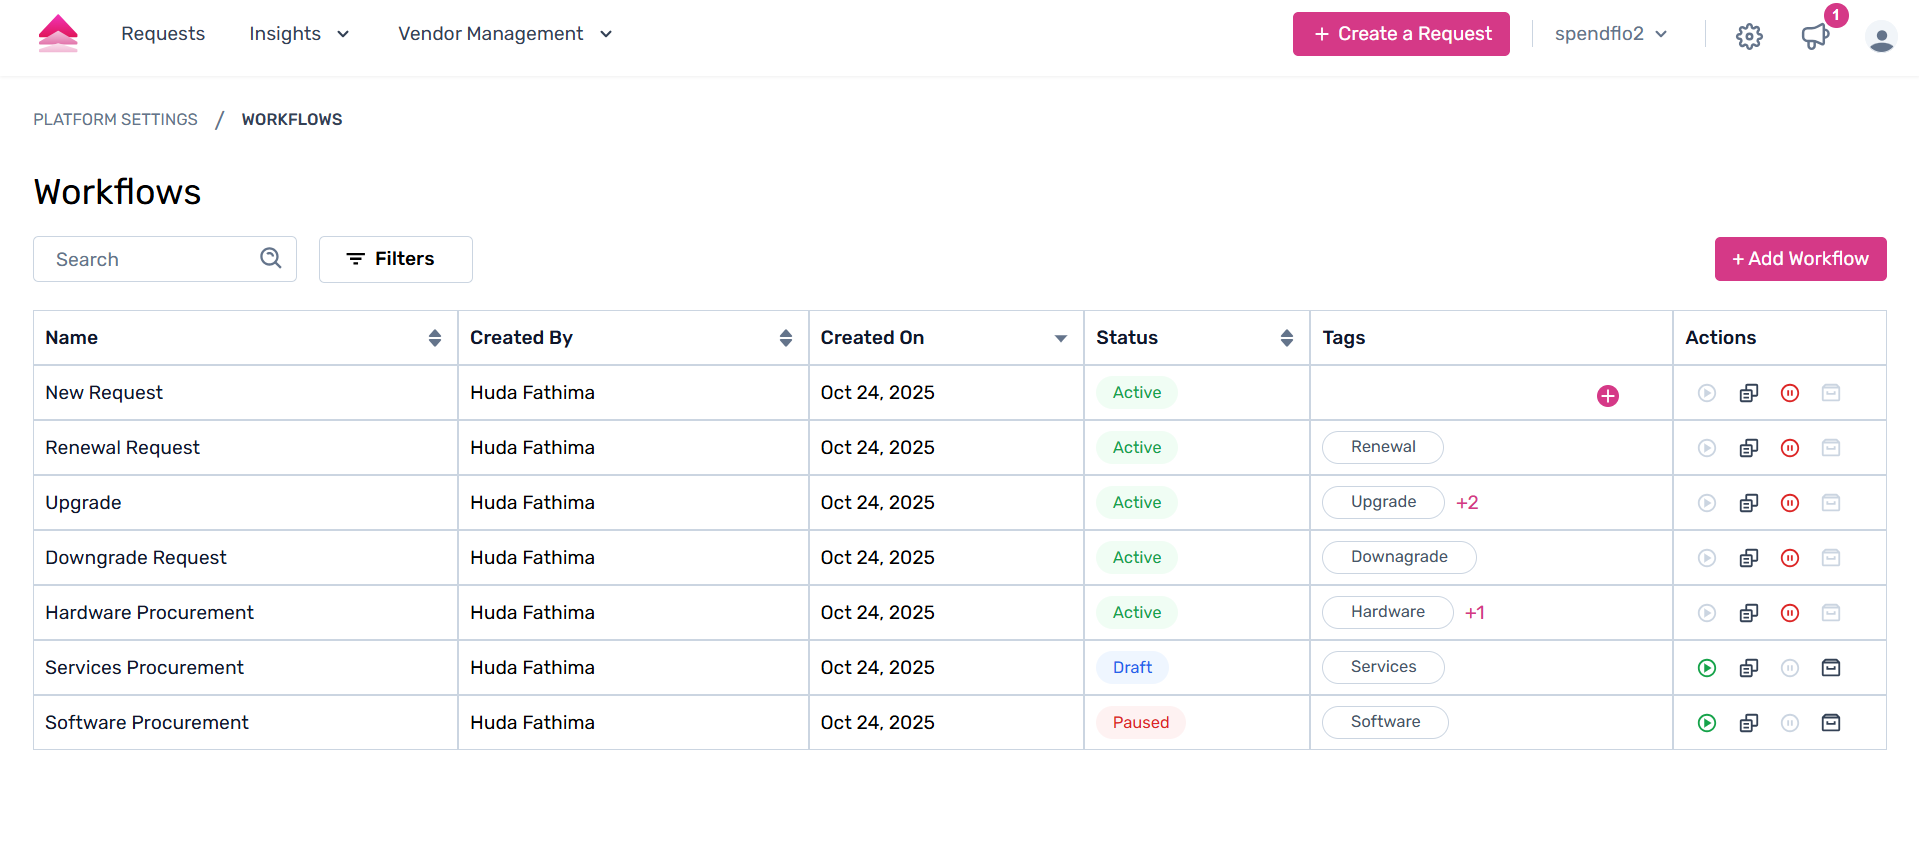
Step 1. Navigate to the Workflow Listing page to view all the active workflows in the tabular view and the tags column.

Step 2. Click on the '+' icon next to the existing tags with each line item.
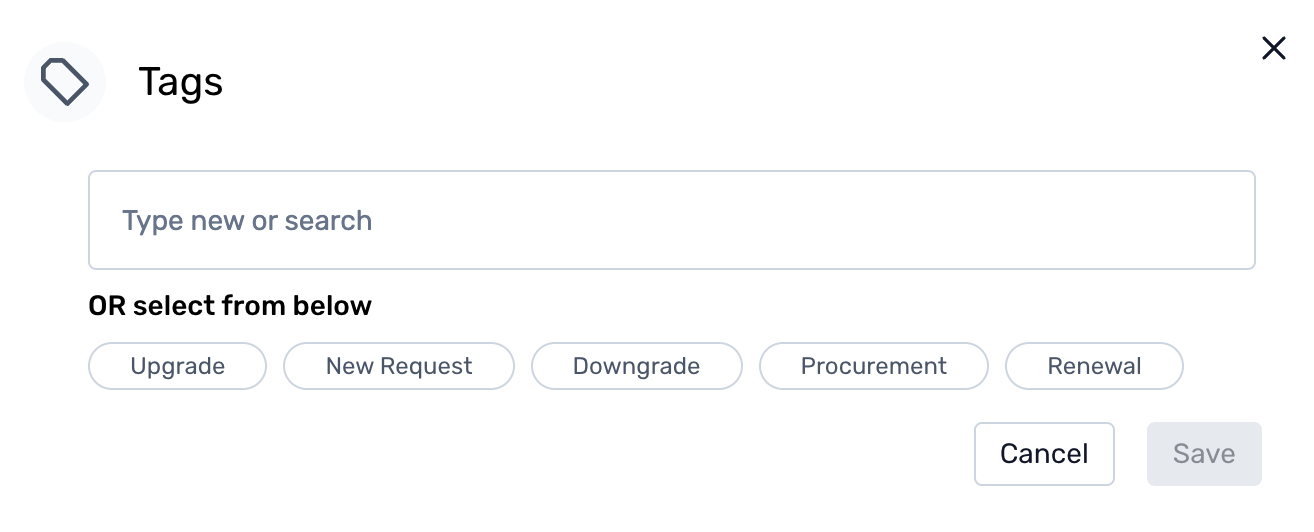
Step 3. In the pop-up, create a new tag or select one of the existing tags available on the platform.
Deleting tags
Tags can also be deleted with a single click right within the workflow module. To delete a tag, click the delete icon next to its name. Or, click on the 'x' next to the existing tags.

To learn more about tags, click here.