Inviting Spendflo users
Last updated: September 10, 2026
Overview
Inviting a user gives them platform access under a specific role. This article covers inviting one user at a time; for bulk invites via CSV and the full edit/pause/lock/archive lifecycle, see Managing Users.
Admin Only.
Inviting a user
Go to Settings → Users and Roles.
Click + New, then choose User from the dropdown.
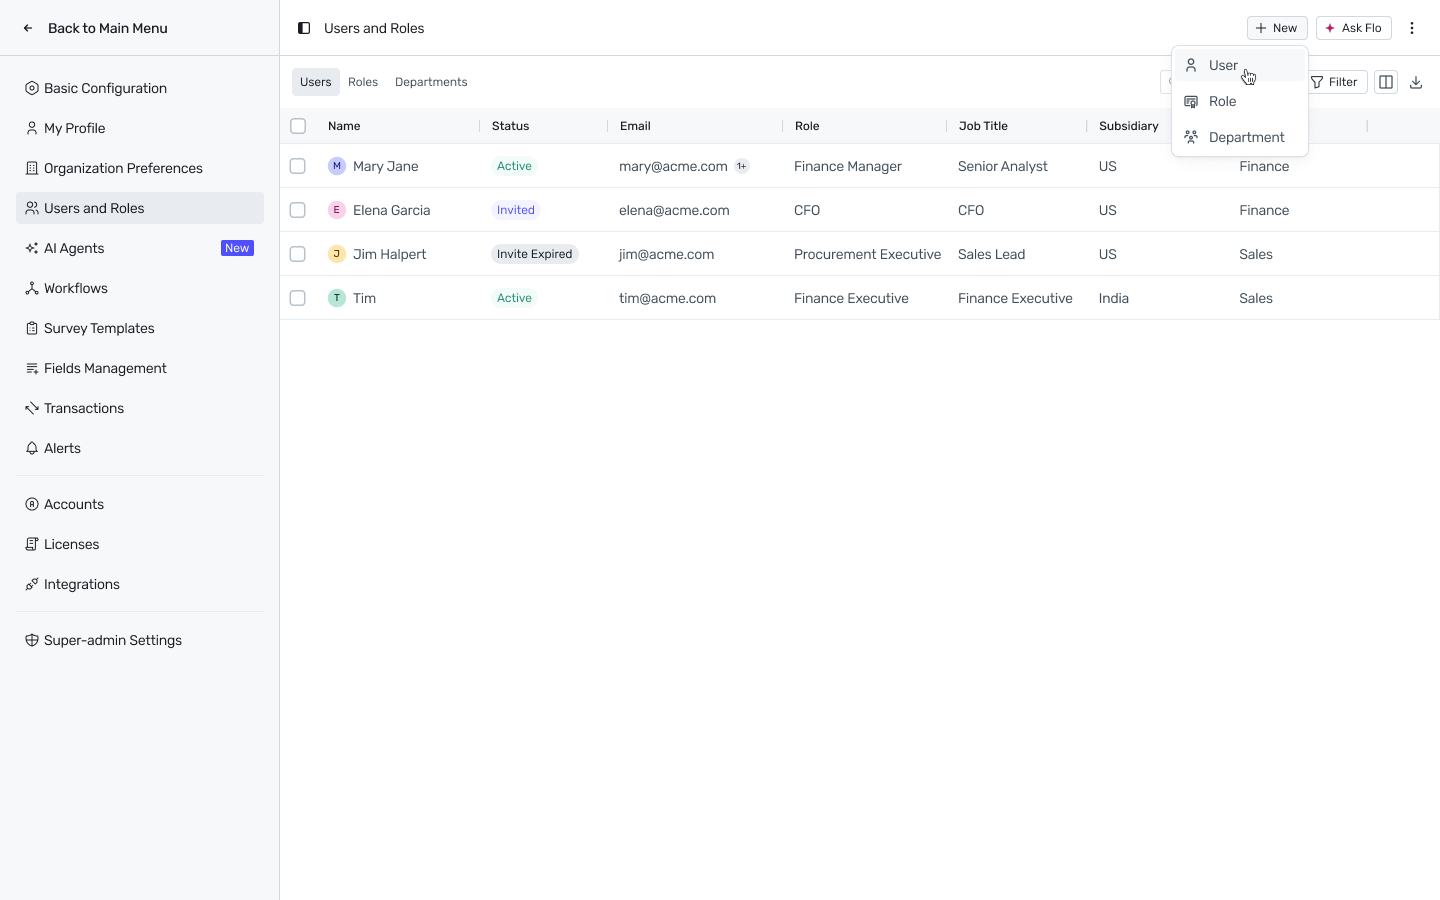
The + New dropdown on the Users and Roles page.
In the Profile Details section, enter First Name, Last Name, and their email address. Each user currently has exactly one email address — support for adding a second address per user is planned for a future release.
In Role & Access, choose a Role — this is mandatory and determines the modules they'll have access to. Set an Access Scope if you want to override the role's default.
In Org & Job Details, set Subsidiary, Department, and employment Type — all three are mandatory. Title and Manager are optional. Subsidiary only appears if your organization has subsidiaries configured (via a GL or Coupa integration) — if it doesn't, this field is not shown, and Department and Type remain the mandatory fields.
Click Invite User.
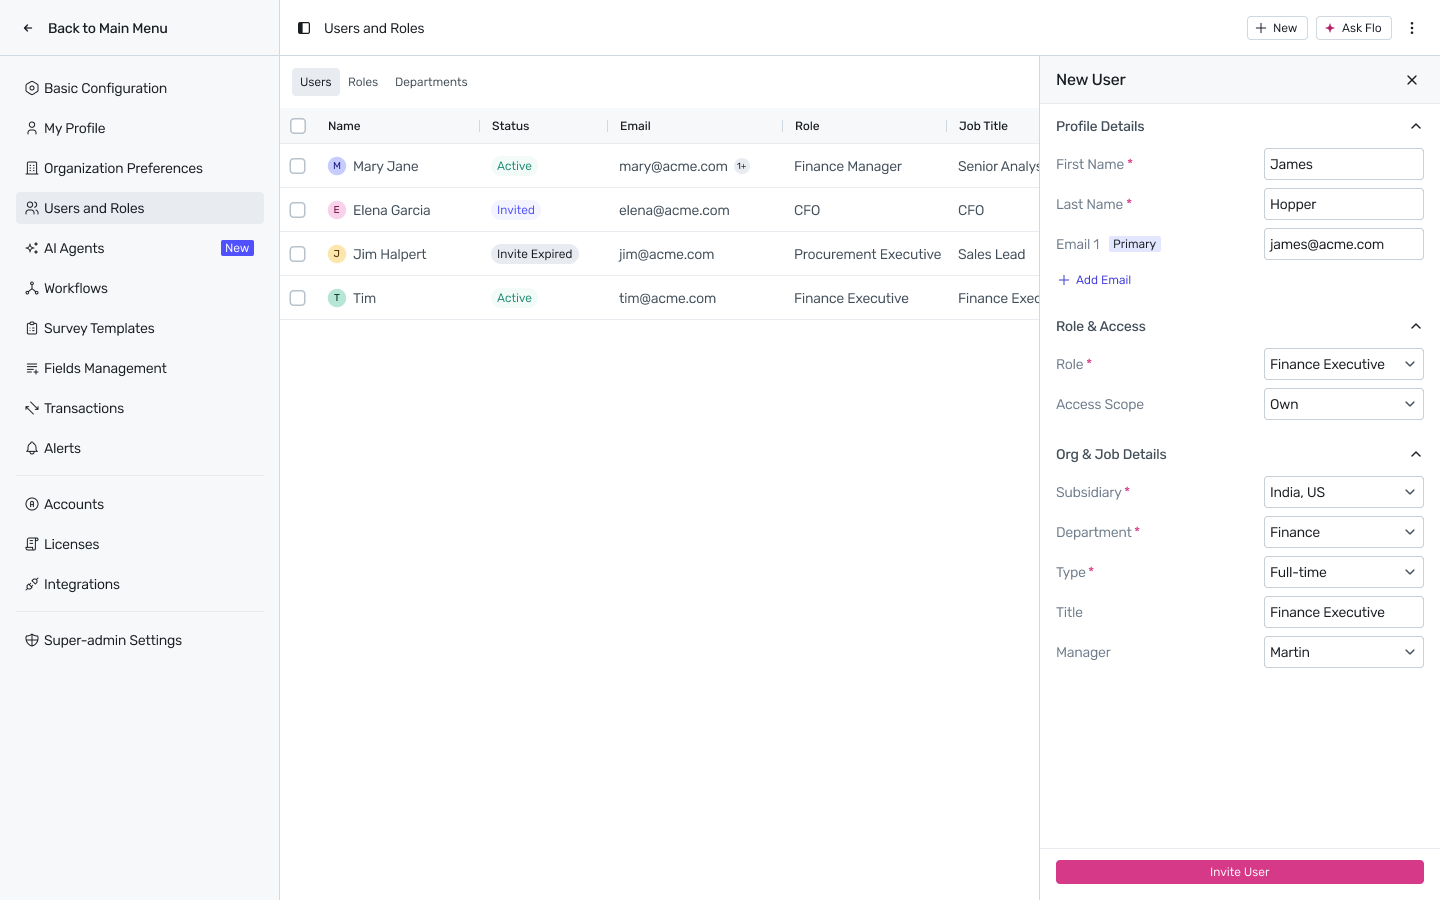
The New User panel — Profile Details, Role & Access, and Org & Job Details.
A confirmation toast reads “User invited successfully” and the new user appears in the Users table with status Invited. An invite email is sent immediately.
What happens next
The invite link is valid for a configurable expiry window (set under Settings → Security). If it isn't accepted in time, status changes to Invite Expired and you can re-invite the user, which generates a fresh link.
Once the user accepts, their status becomes Active and they have access according to the Role and Access Scope you set.
For editing an existing user's role, department, or subsidiary after the invite, pausing, locking, or archiving them, see Managing Users.